


DPTjs1 - OCLO
Damage Path Tool Jobsheet 1
Jobsheet #1: Creating a Tornado Damage Path From Baselines
- Load a product to base your damage path off of (e.g. base velocity for a wind swath).
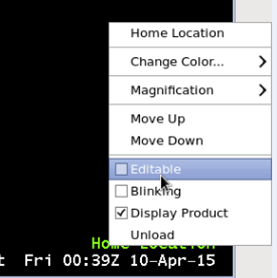
- Load the Home tool from the CAVE Tools menu, and ensure that it is editable (Fig. 1).
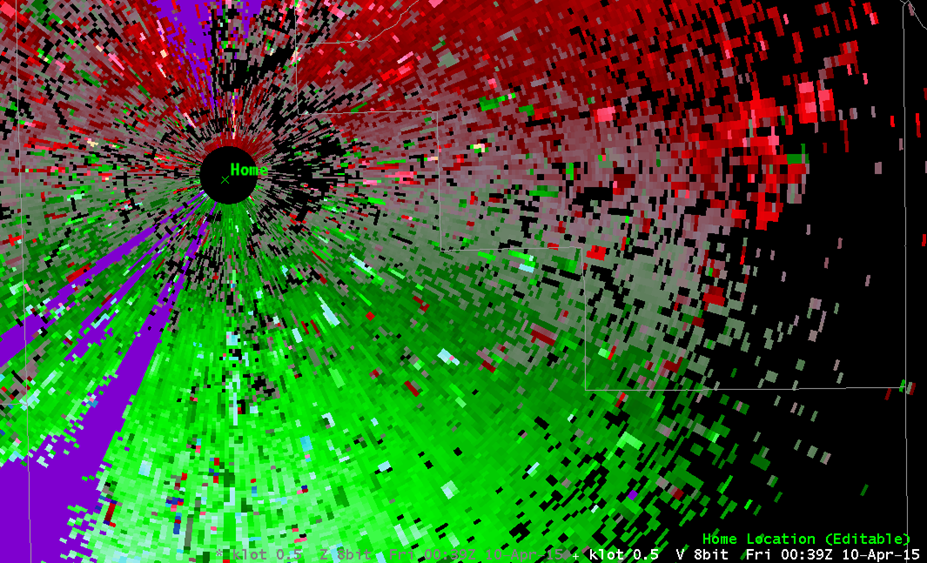
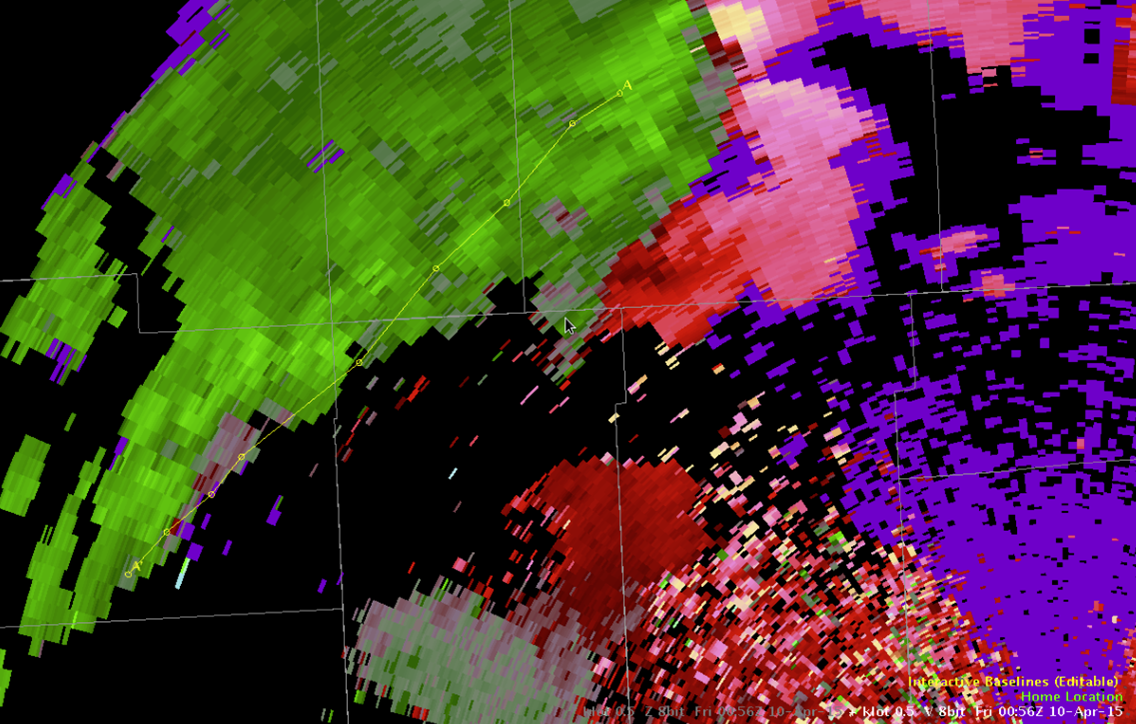
- Ensure the Home cursor is set at the location of the radar you are using to estimate your damage path, if it is not, move it to that location (Fig. 2).
- Load Baselines from the CAVE Tools Menu and ensure baselines are editable.
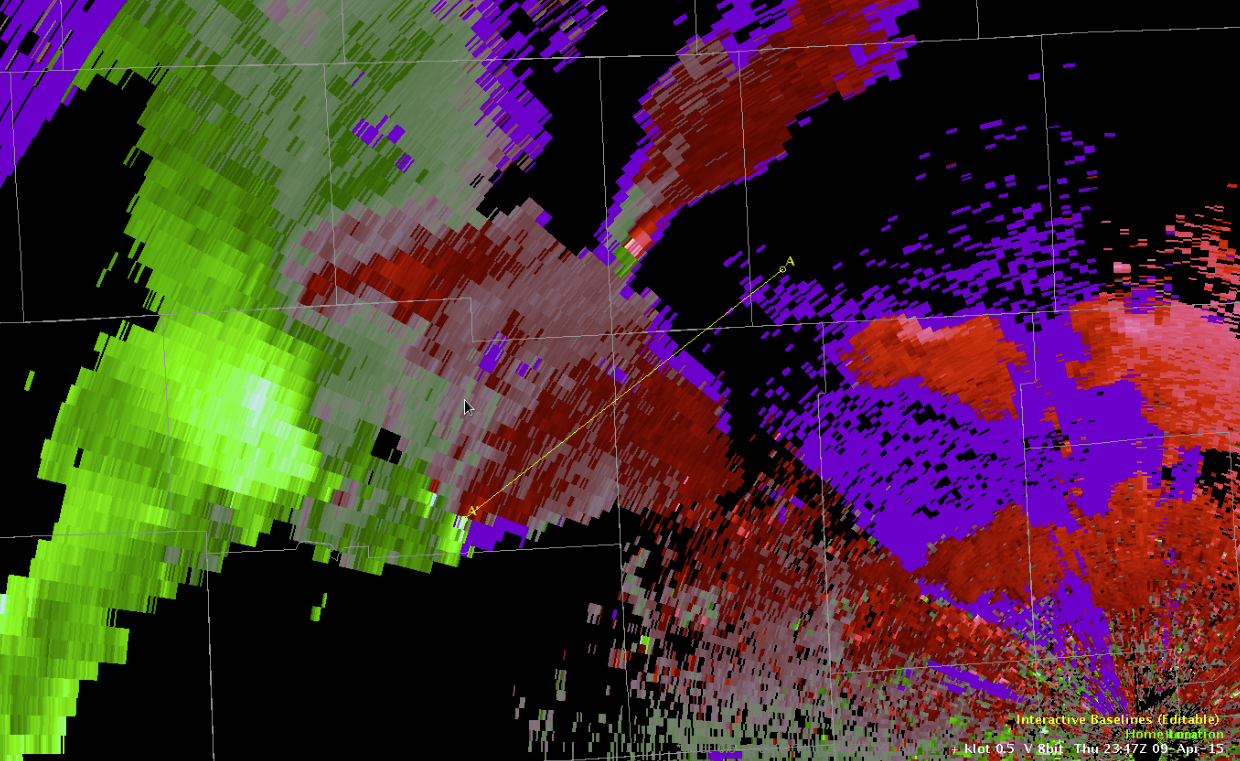
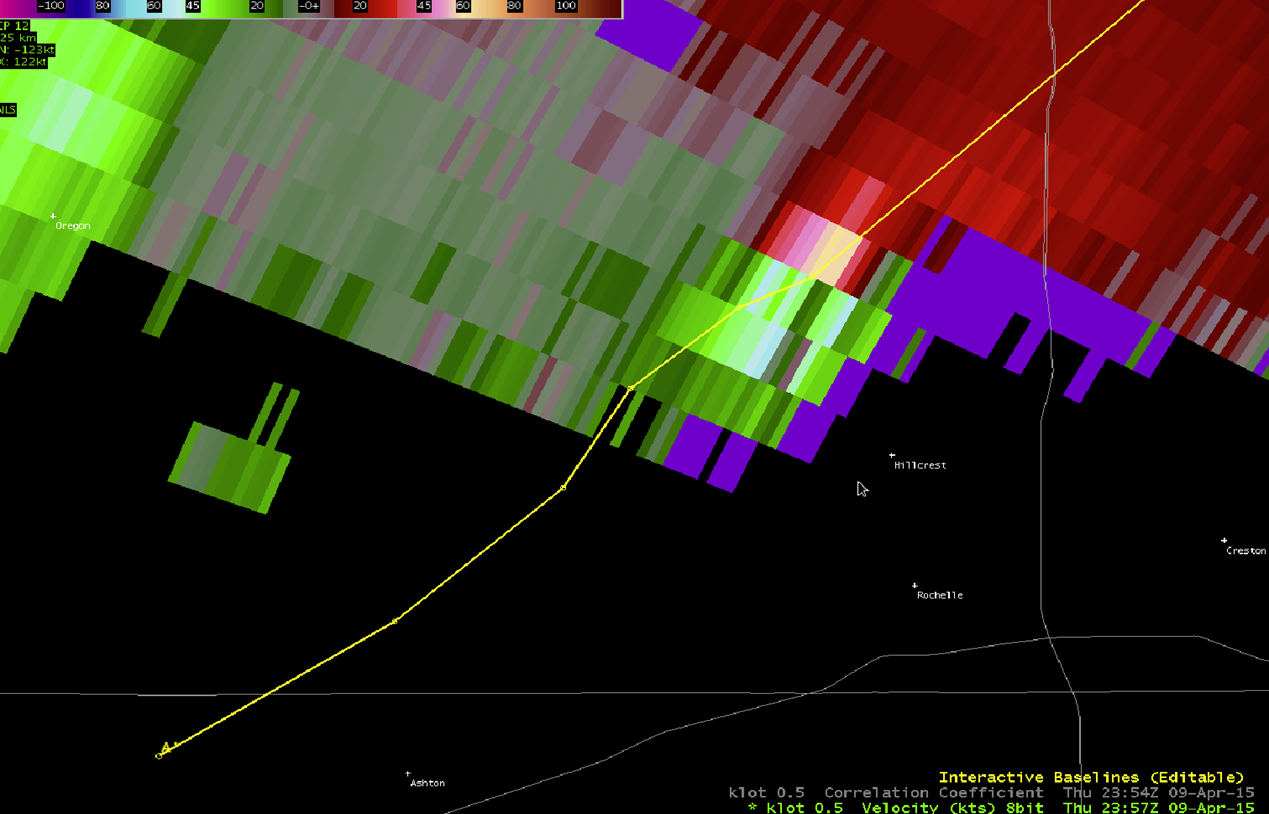
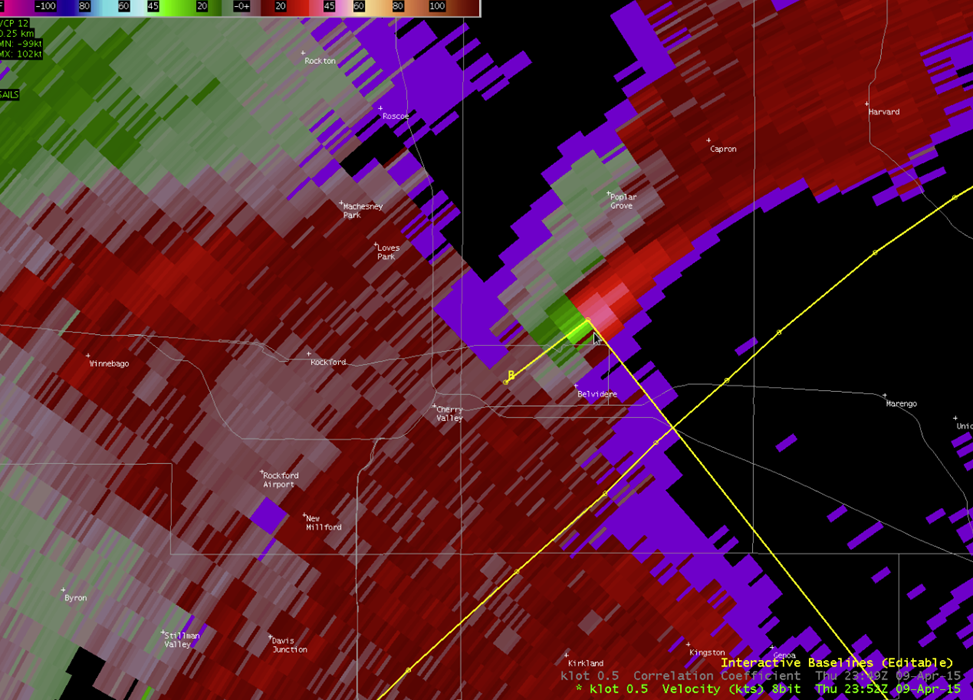
- Right click at the approximate start and end of a tornado damage path to move the baseline (or manually drag and adjust the start and end point) (Fig. 3).
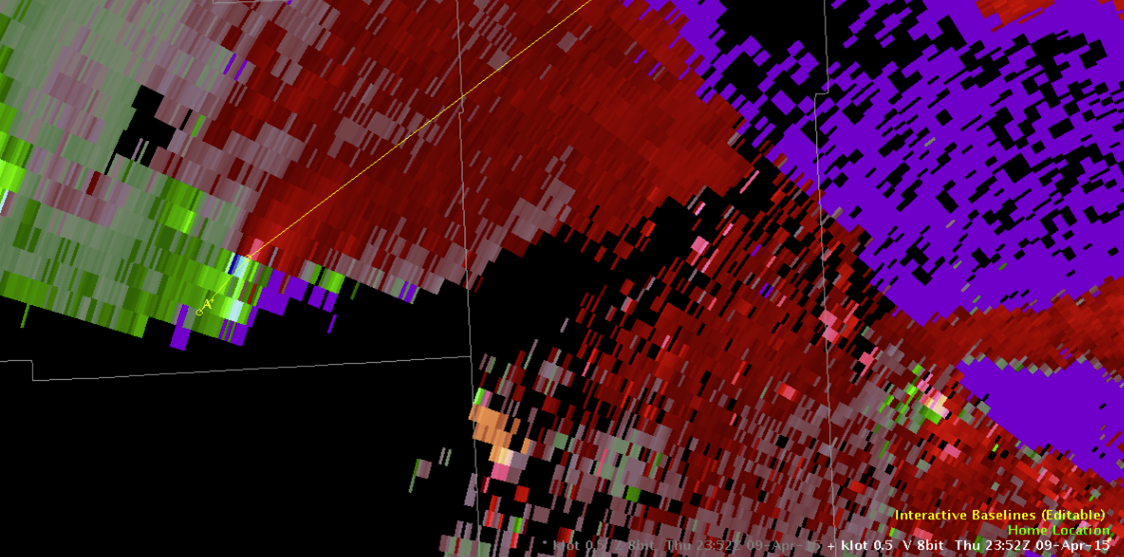
- Middle click (or right click and drag vertex) along the path of the tornado as needed to align the baseline with the track of the tornado (Fig. 4).
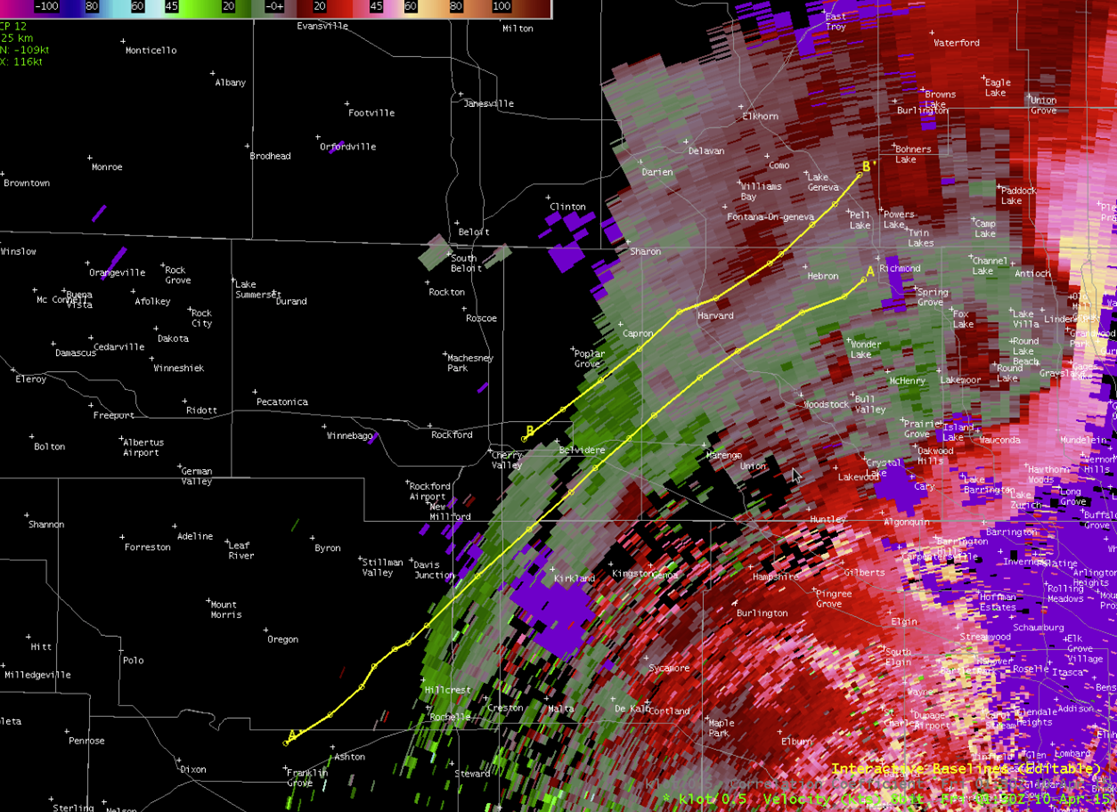
- Continue this process along the track of the tornado (Fig. 5). The end result should look something like Figure 6.
** If you need to add a second path repeat steps 3-5 on a separate baseline (Fig. 7 and Fig. 8).
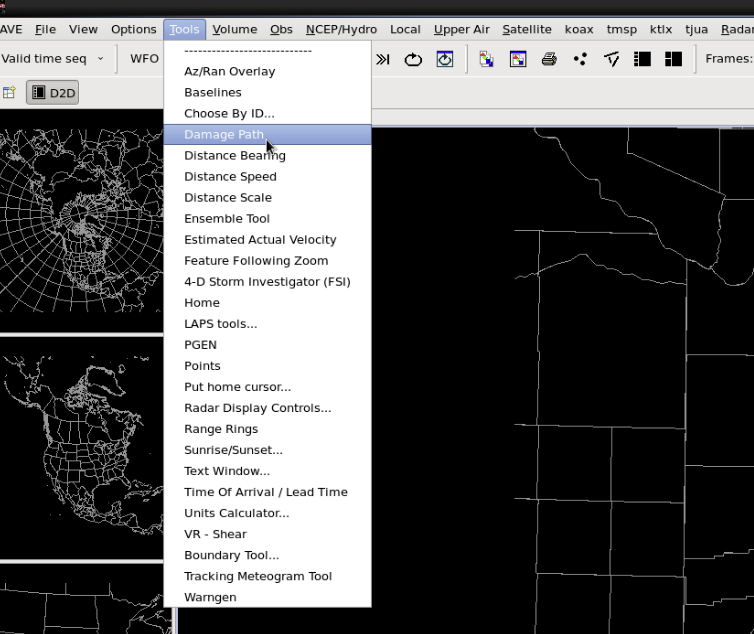
8.Select Damage Path from the CAVE Tools menu (Fig. 9) .
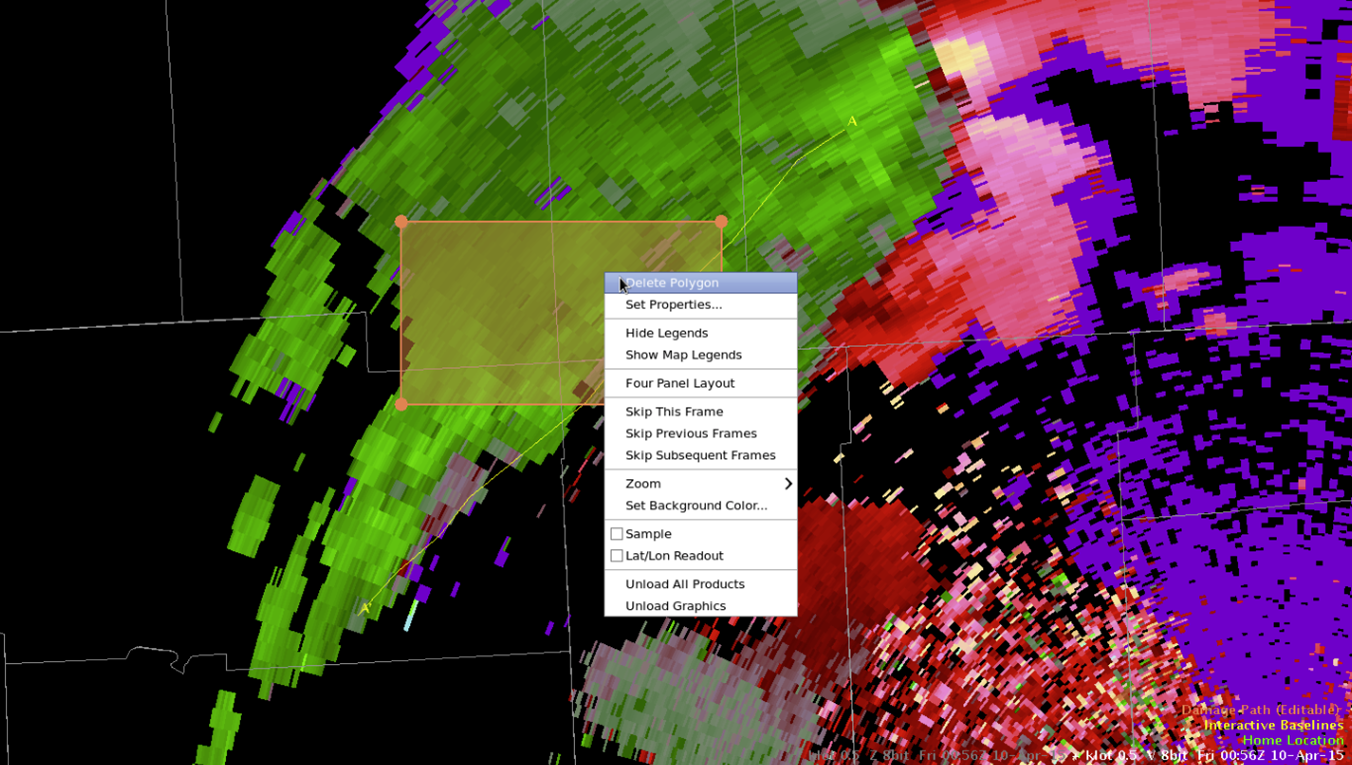
9. If an initial rectangle polygon appears, right click on the polygon and select Delete Polygon (Fig. 10).
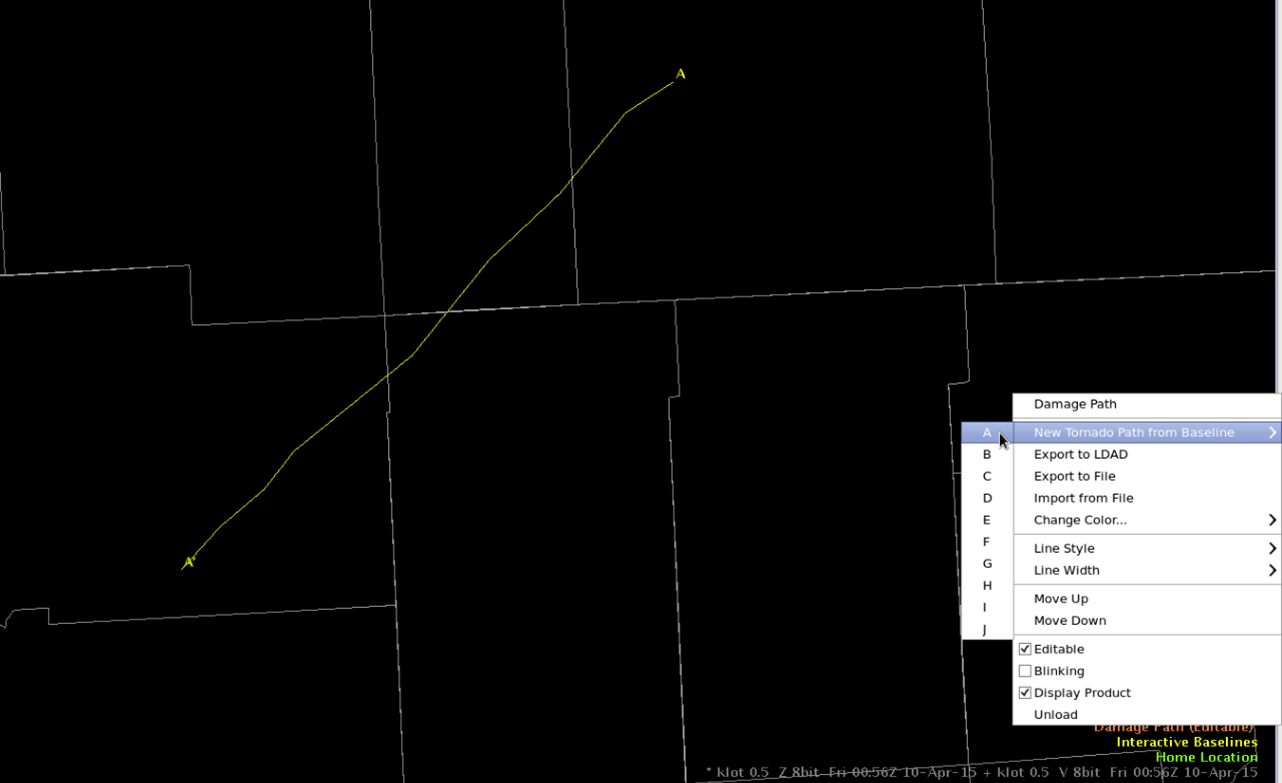
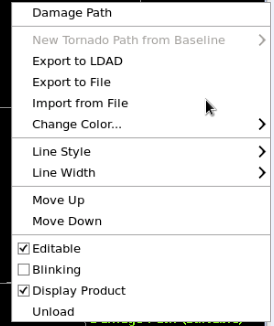
10. Right Click and hold on the Damage Path product menu (bottom right of CAVE window) and select New Tornado Path from Baseline and select the baseline you aligned to the tornado path (Fig. 11).
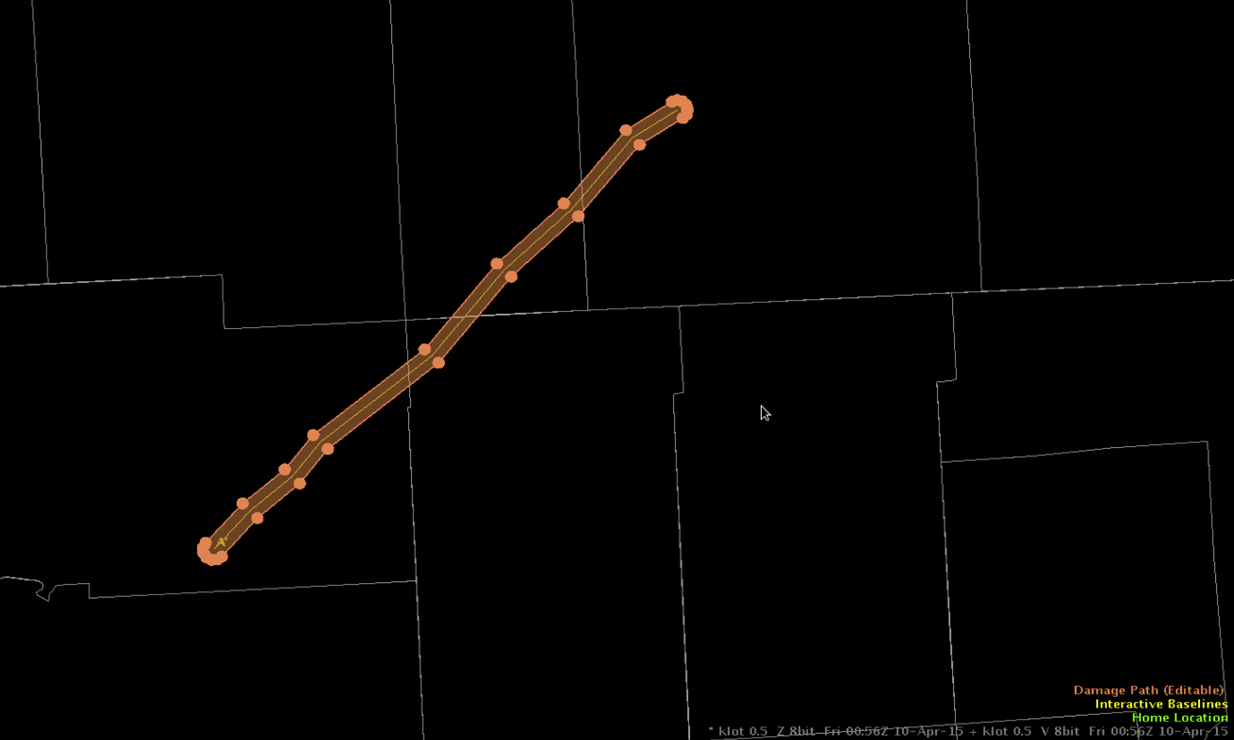
11. A new polygon/damage path will be created following your baseline (Fig. 12).
** If you need to add additional paths repeat step 8 for other baslines as necessary (Fig. 13).
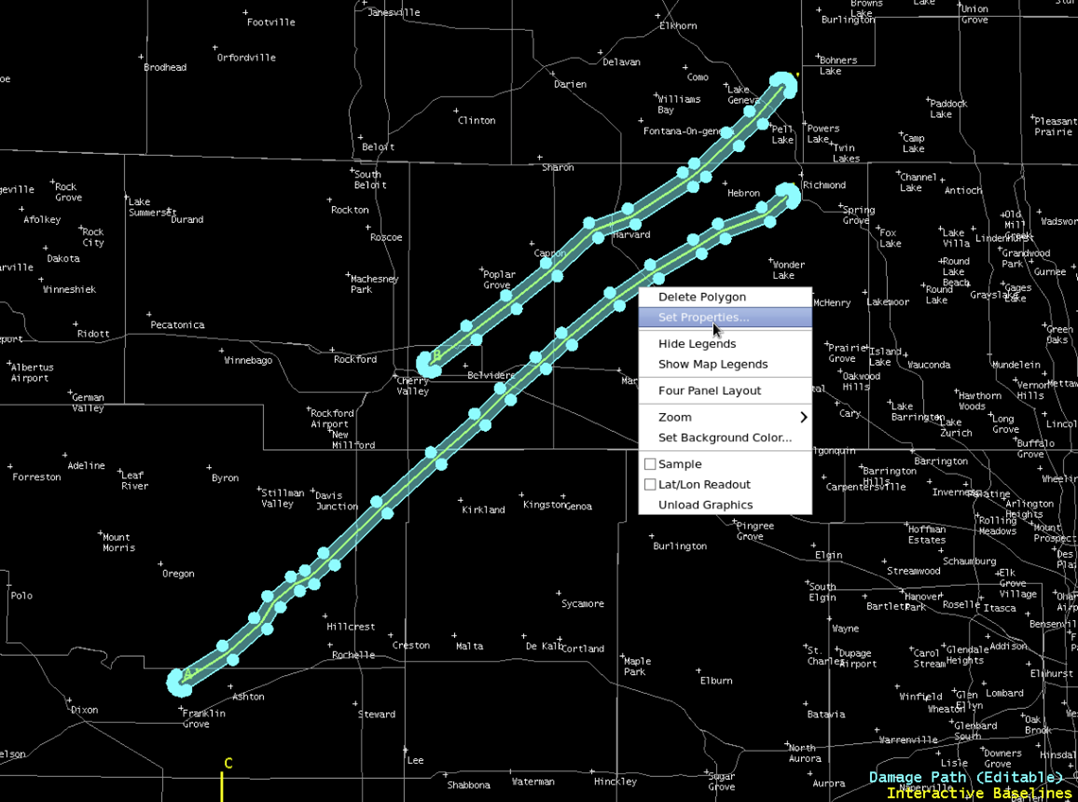
12. Right click anywhere on your damage path polygon and select Set Properties (Fig. 14).
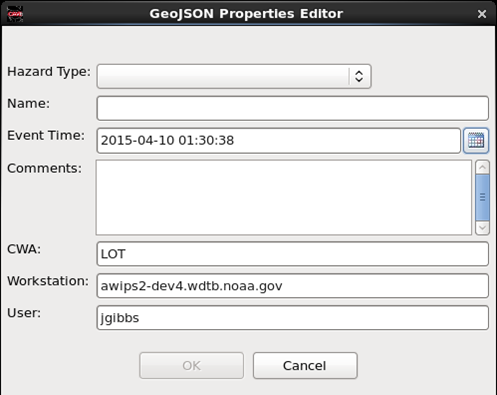
13. This will pull up the polygon's properties editor GUI (Fig. 15).
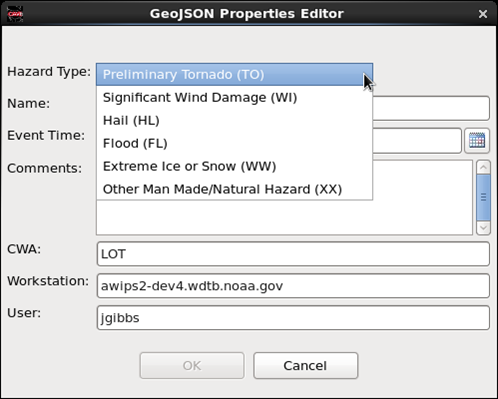
14. Select Preliminary Tornado from the Hazard Type dropdown menu (Fig. 16).
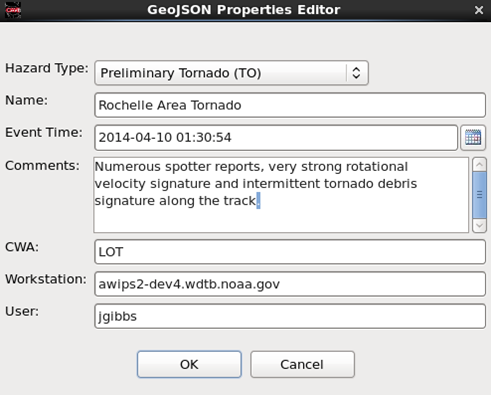
15. Give the event a name, set the event time to the start of the tornado and provide brief comments on the tornado, click OK. The CWA, Workstation and user entries cannot be edited (Fig. 17).
16. Export the finished product to the DAT Server by right click and holding on the product menu and selecting Export to LDAD (Fig. 18).