Purpose:
This task describes loading/unloading additional map editors, arranging map editors, and minimizing/maximizing editors.
Tasks:
- From the Satellite menu, select IR Window.
- Create a new Map Editor using one of the following methods:
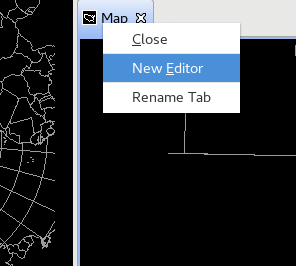
- Method 1: Pop-up menu from right-clicking on the existing Map Editor icon.
- Right-click on the Map Editor tab at the top of the main display pane and select New Editor.
- Method 2: Select from CAVE menu.
- From the CAVE menu, select New, then select Editor.
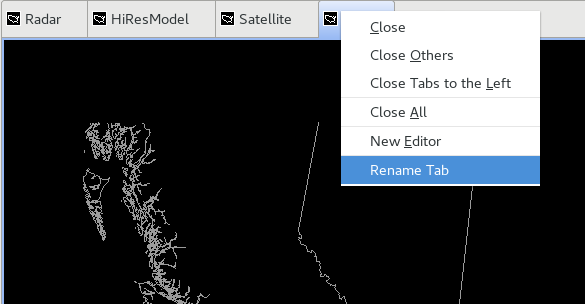
- Right-click and hold on each Map Editor you have added and select Rename Tab. Type the name that you would like to appear in the Tab (e.g. Upper Air).
- Arrange Map Editors within the main display.
- Reorder the Map Editors with a left-click and hold mouse maneuver on the tab and moving it left or right.
- While moving, the mouse pointer will highlight a vertical bar to indicate the position of the tab.
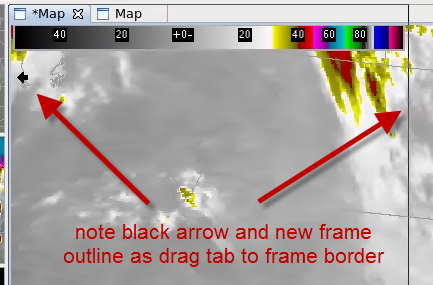
- Drag and drop the Map Editors to split the main display with multiple editors.
- Left-click and hold on the Map Editor and drag it to the left or right borders of the main display.
- When reaching the border of the main display, a black outline (or white if over darker shades) will appear where the map editor will be placed in the main display. The action splits the existing window with both editors taking up one half of the existing space.
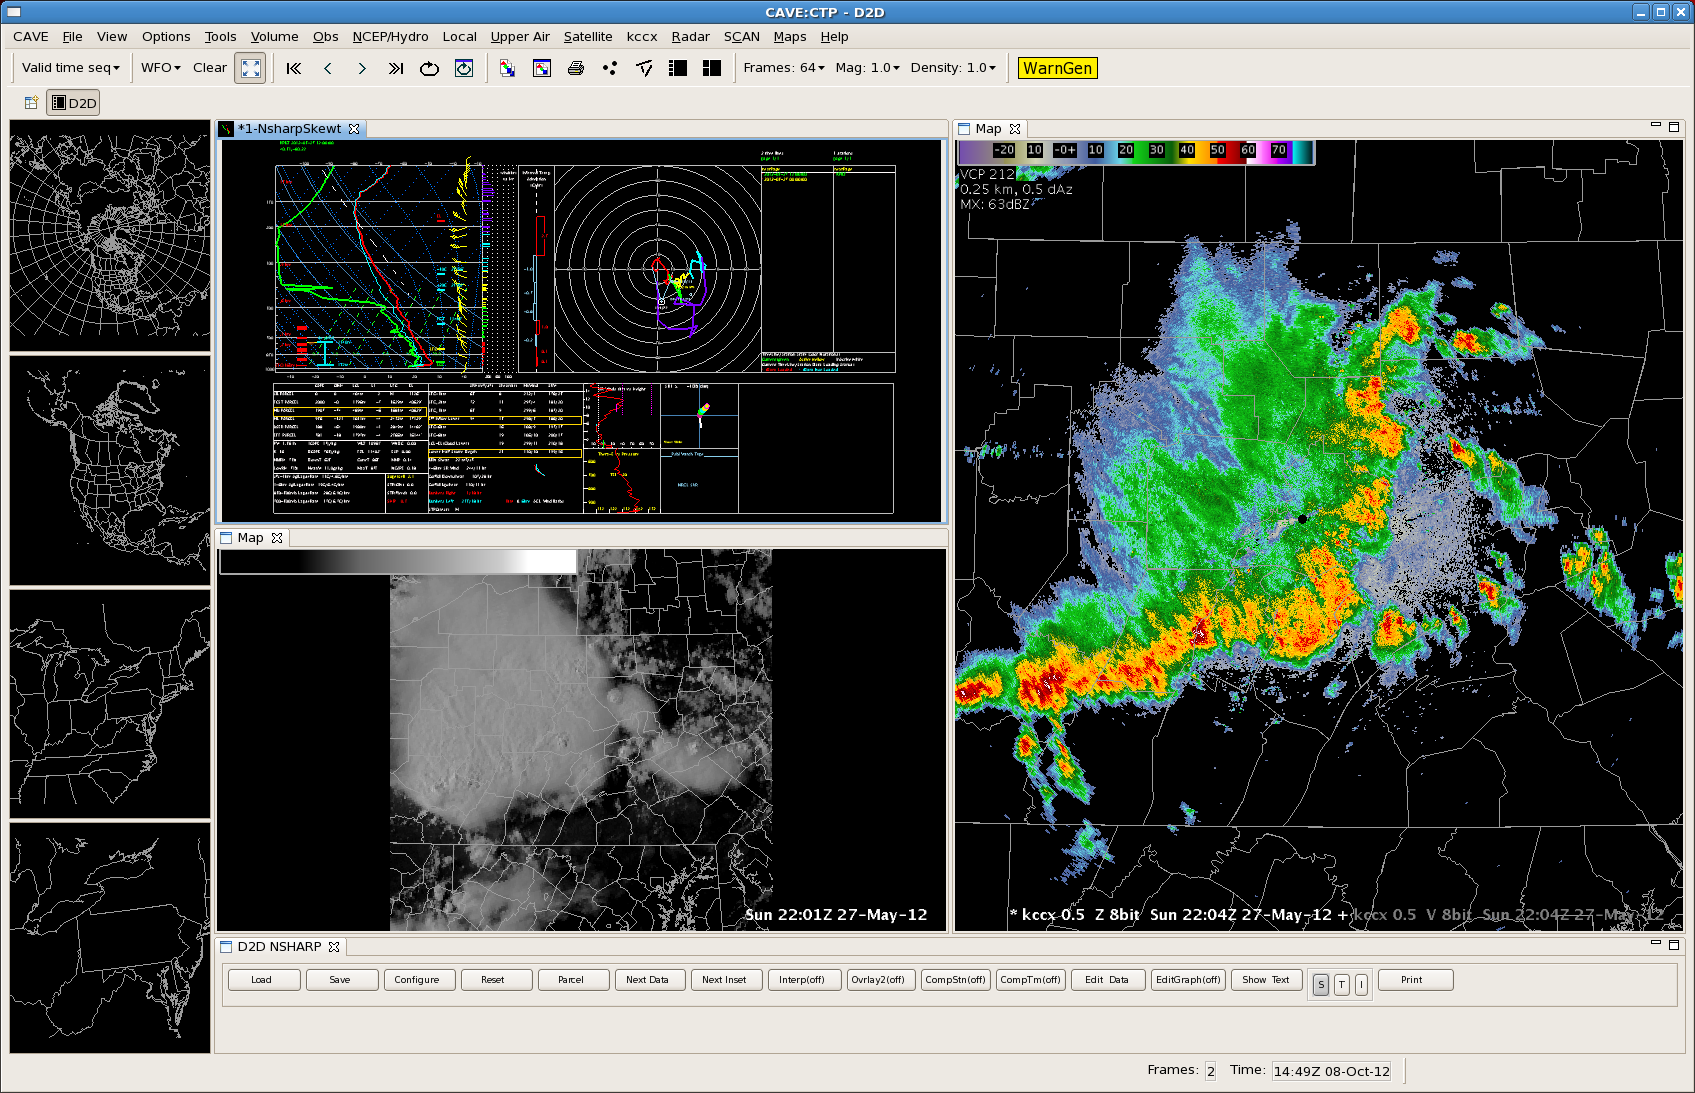
- Add another map editor and move one to the bottom or top border of the main display. An example main display with multiple Map Editors is shown below with the main display split by three Map Editors.
- Swap panes with a side editor by right-clicking on the side pane and note only one editor swaps in the main pane.
- Close a Map Editor using one of the following methods:
- Method 1: Left-click on the X on the editor tab.
- Method 2: Select from the Map Editor pop-up menu.
- Right-click and hold on the editor tab and select Close.
- There is also the option of Close Others, which will close all tabs but the one selected, and Close All.
- There also is an option to Close Tabs to the Right (or Left).
- If all editors are removed you can add a new editor from the CAVE menu and New submenu.
- Double-click anywhere in the Map Editor tab space, including the tab "Map" itself. This collapses the side panes and gives a larger map editor space to allow for displaying multi-panel layouts.
- Task Complete!


