Purpose:
This job sheet for all VLab users illustrates some of the steps necessary for adding content.
Tasks:
- Click on the icon to toggle the product menu drop-down. You will notice the icon change upon engagement.
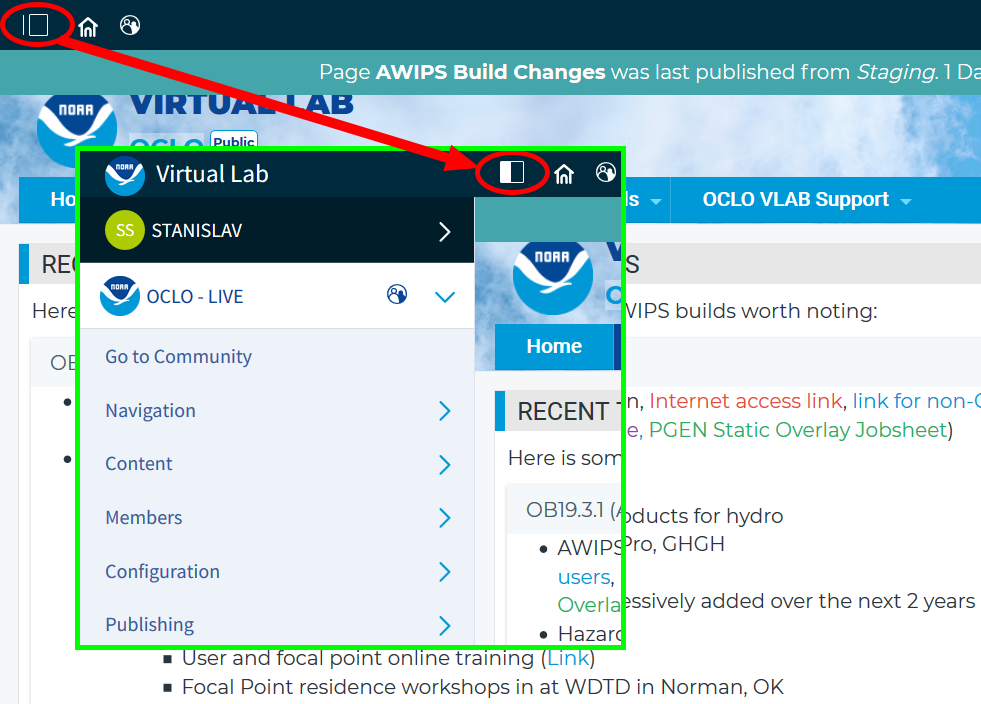
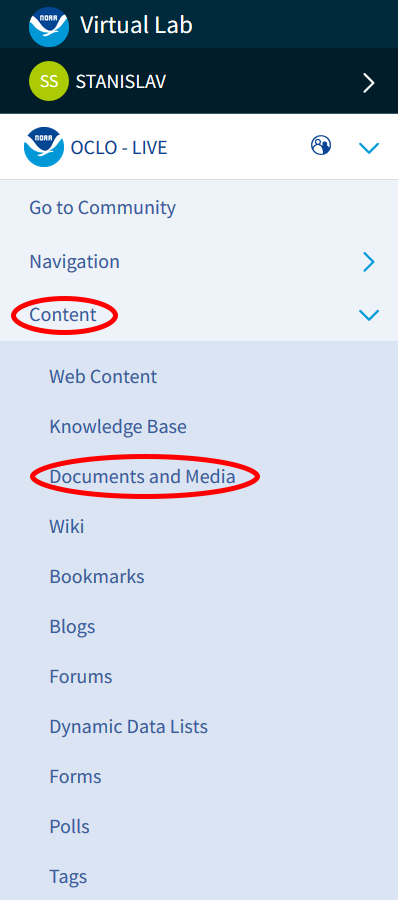
- Once the Product Menu drop-down appears, click on the Content menu and the Documents and Media submenu.
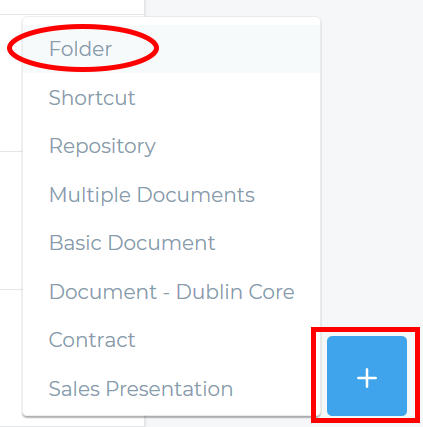
- The Documents and Media portlet is empty for new local communities. Go ahead and create a new folder titled Images. To do this, click on the "+" sign in the lower right corner of the window and select Folder.
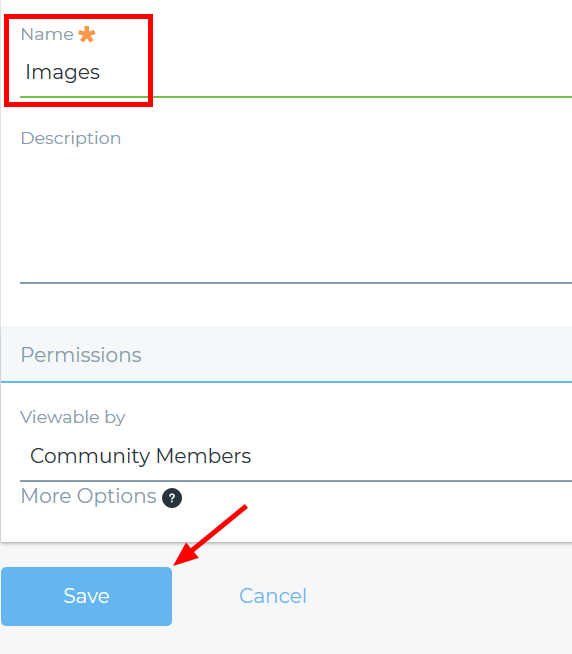
- In the new window, name the new Folder "Images." Select the permission you want for the folder. You can choose (Anyone (Guest Role)) to allow anyone to search and view the files in this folder, (Community Members) to allow only community members access, or (Owner) for only you to access. Note that later you can change permissions for individual files to be more restrictive than their parent folder. Click Save.

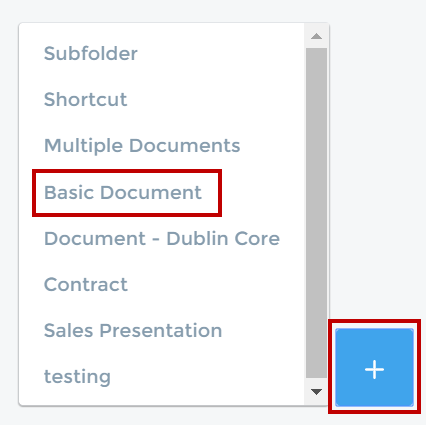
- Click on the newly created Images folder. Next, click on the "+" sign again in the lower right and select Basic Document to load a document.

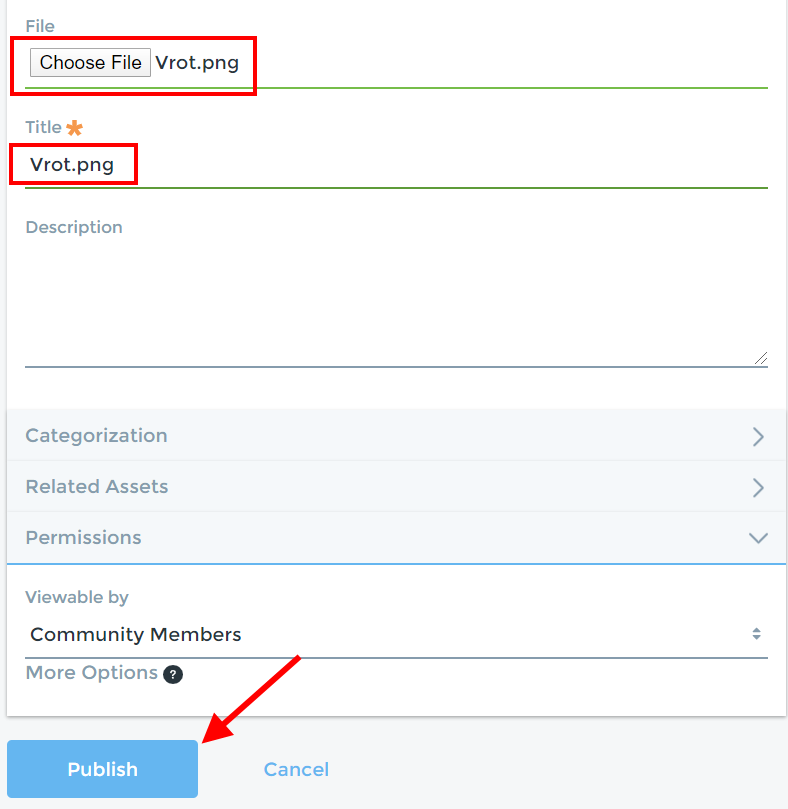
- In the new window, find an image file you want to upload using the Choose File button. Next, give it a unique name in the space under Title and click Publish. In addition to an image, you may also upload a pdf in the same manner, and it will be displayed through the browser.
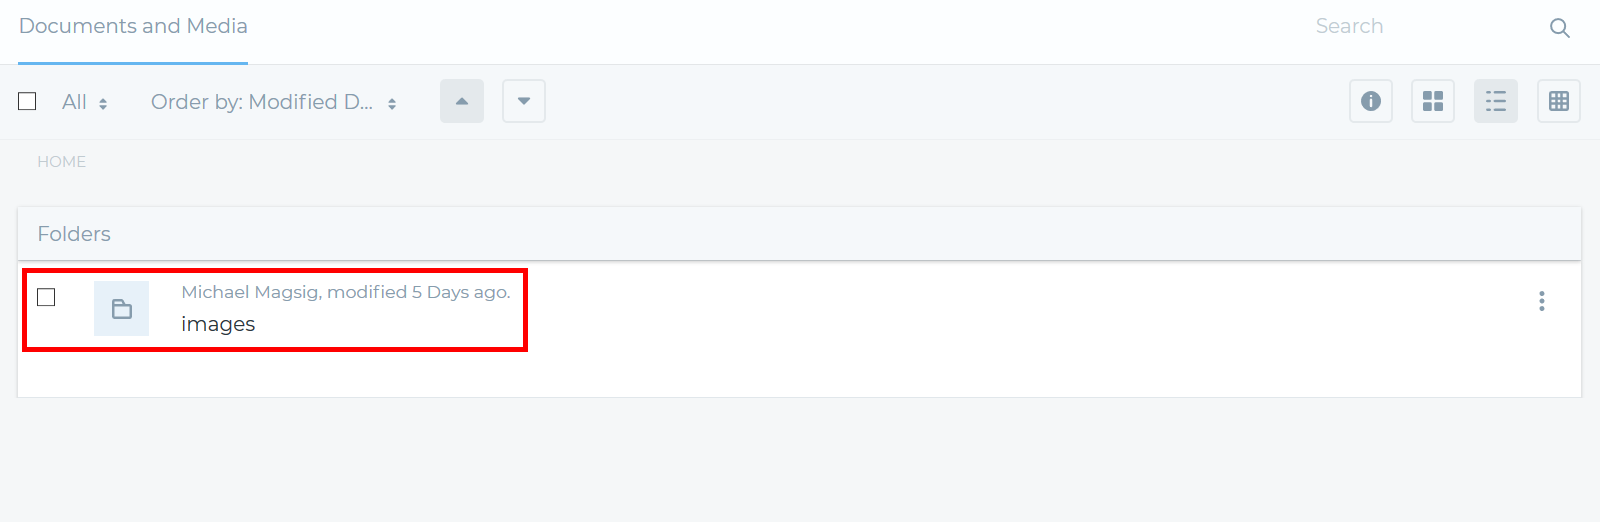
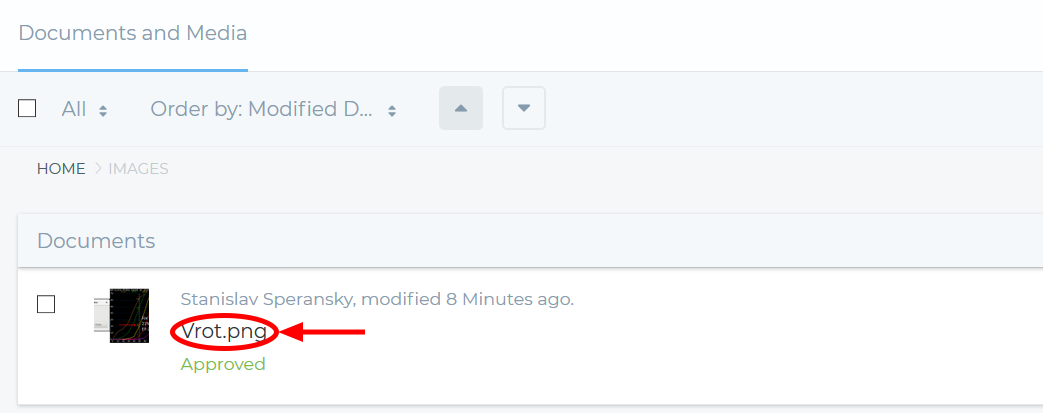
- Next, let's view the image you just uploaded. You should now see the new image you upload in step 6.
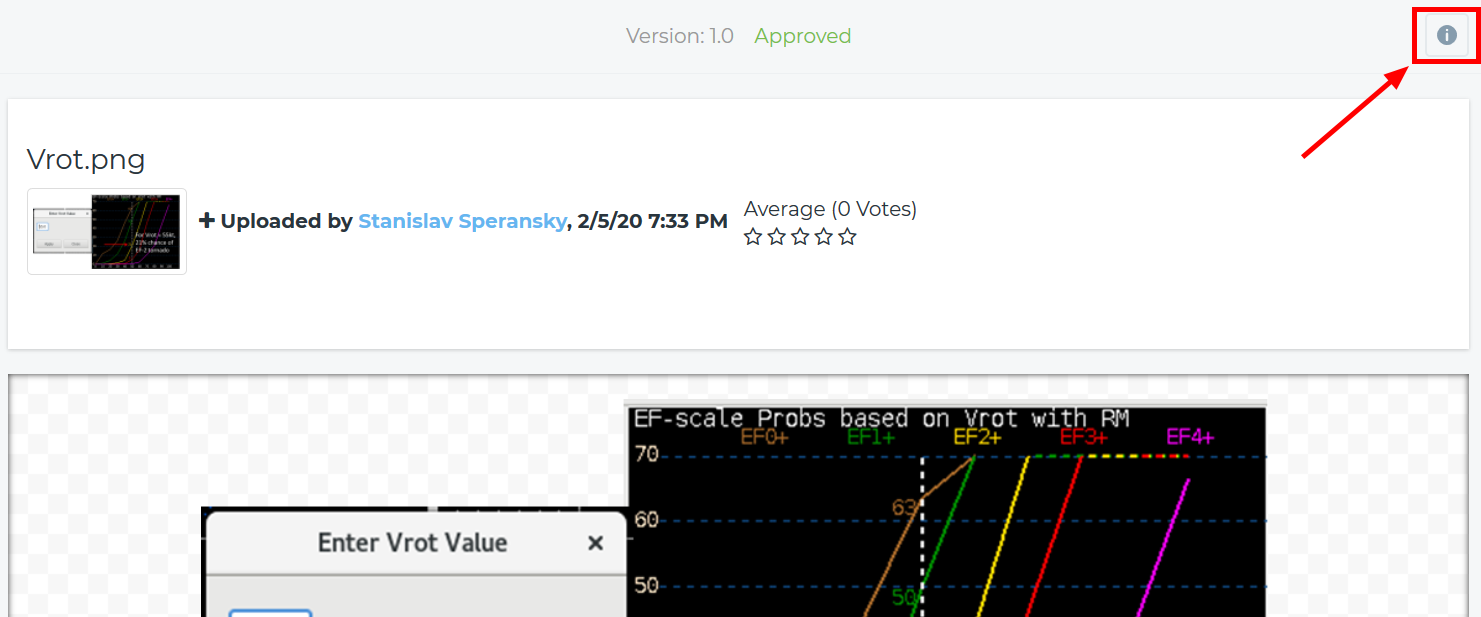
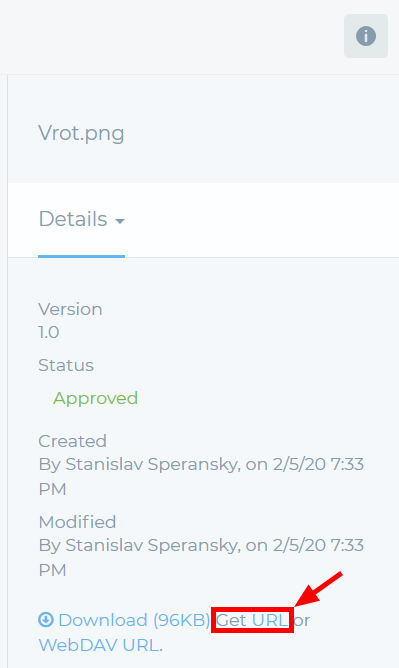
- Click on the file name. The image will preview in a new window within VLab. To retrieve the URL for the image, click on the "i" icon in the upper right. Next, select "Get URL". Then select the URL that appears and copy and paste that URL in a new browser window/tab. The "Get URL" is immediately available to those with appropriate permissions and requires no publishing. Note the WebDAV URL contains a more human-readable path, but it requires a user to be logged in to VLab to see it even if the file permissions are set to guest which does not require logging in. For this reason, it is best to not use the WebDAV URL when referencing public (guest content).
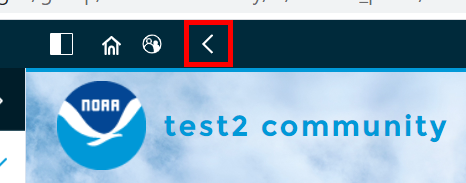
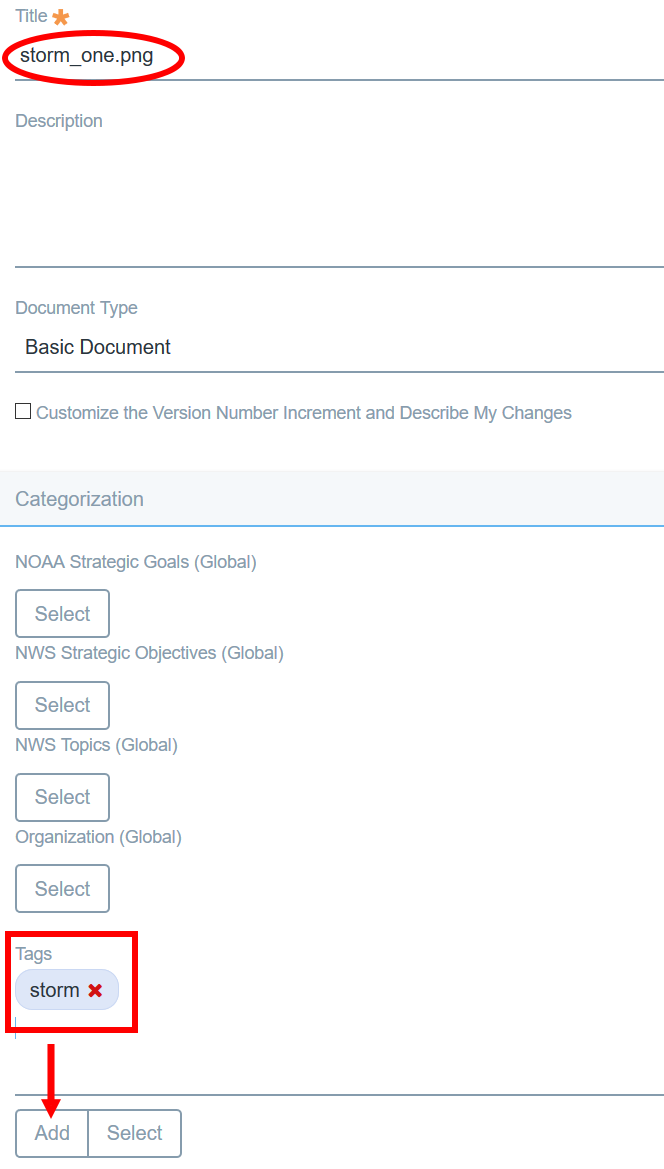
- Click on the back arrow at the top of the page to return to your Images folder and repeat step 5 to upload a new image. In this example, we use "storm_one.png" for the file name. This time add a tag "storm" and click Add to add the tag to the upload. Click Publish.
- Repeat Step 5 again and upload another image. In this example, we use "storm_two.png." Do not add any tags.
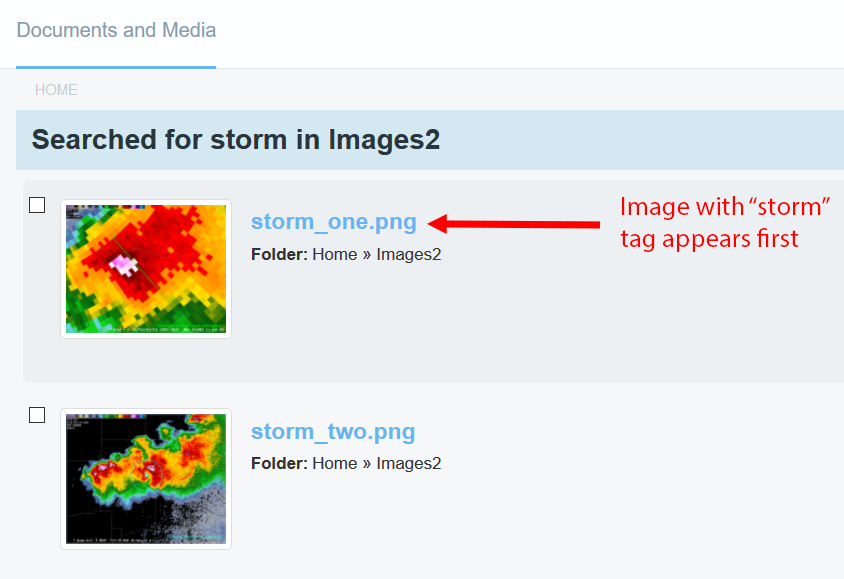
- Using the Search tool in the top right, search for "storm."
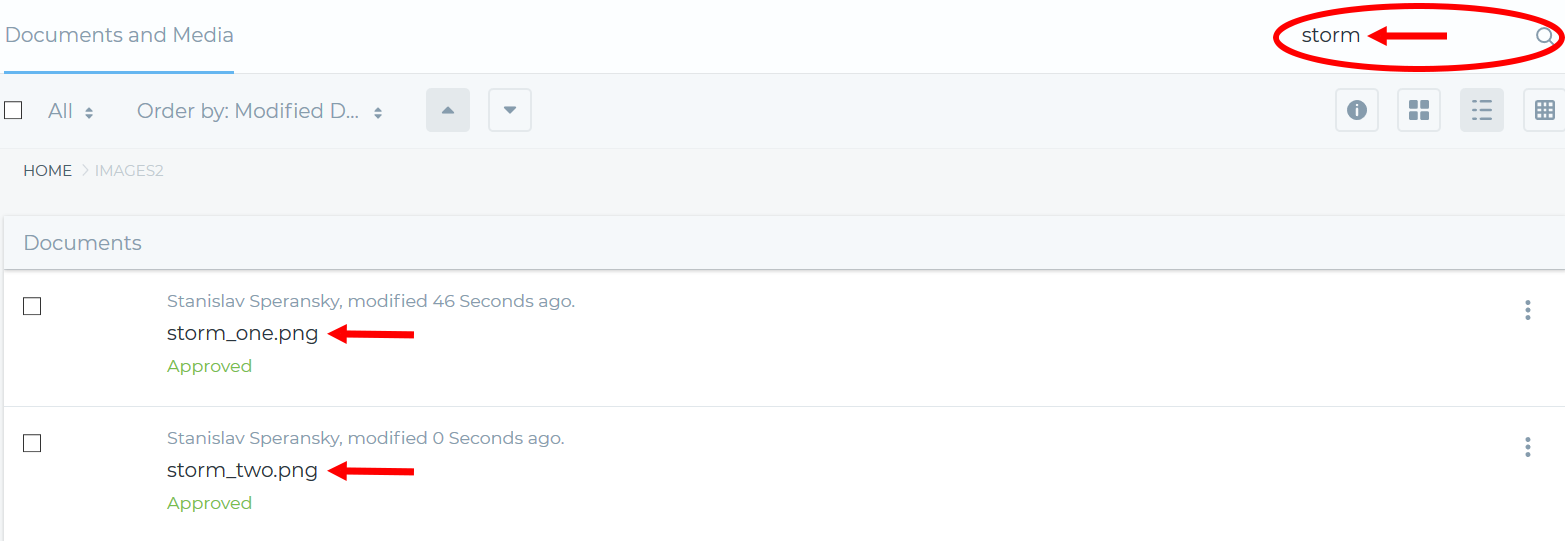
- Note that the search returns both images you created, with "storm_one.png" listed first. This is because the "storm" tag that was added to this file is weighted more than the "storm" that appears in the file name. Tags have a large impact on the results of VLab searches within your community and outside your community if you make your content public, so use tags deliberately when you want content discovered by the VLab searches.
- Jobsheet complete.


