


PGEN Jobsheet - OCLO
PGEN Jobsheet
Purpose:
Tasks:
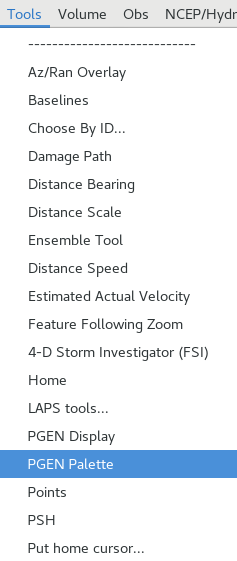
- From the Tools menu, select PGEN Palette (Fig 1).
- Using the mouse scroll wheel, zoom in/out to your sector of interest. Alternatively, select the appropriate map scale (WFO, States(s), etc).
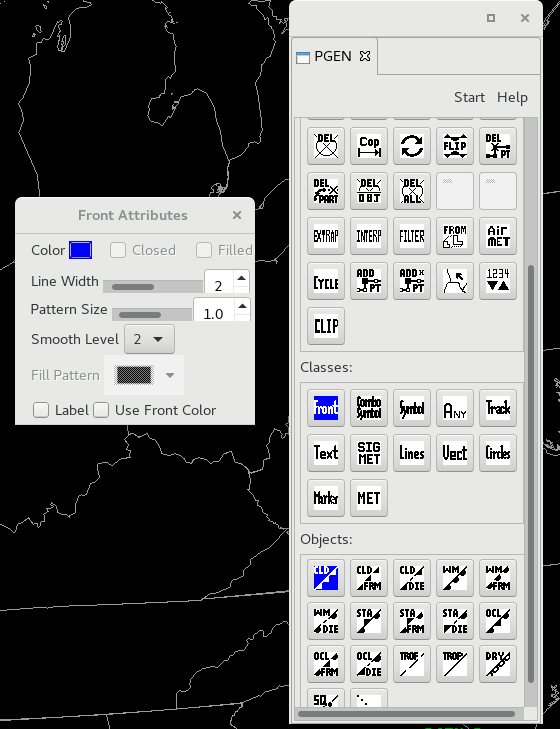
- From the Classes section of the Toolbox, select Front (Fig 2)
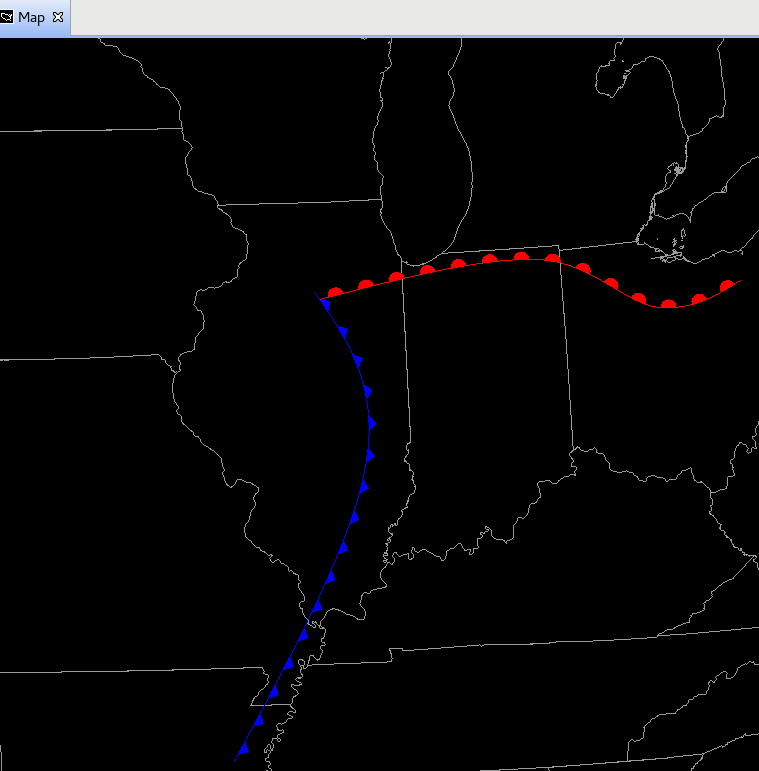
- Draw a cold front and a warm front (Fig 3).
- From the Classes section of the Toolbox, select Symbol (Fig 4).
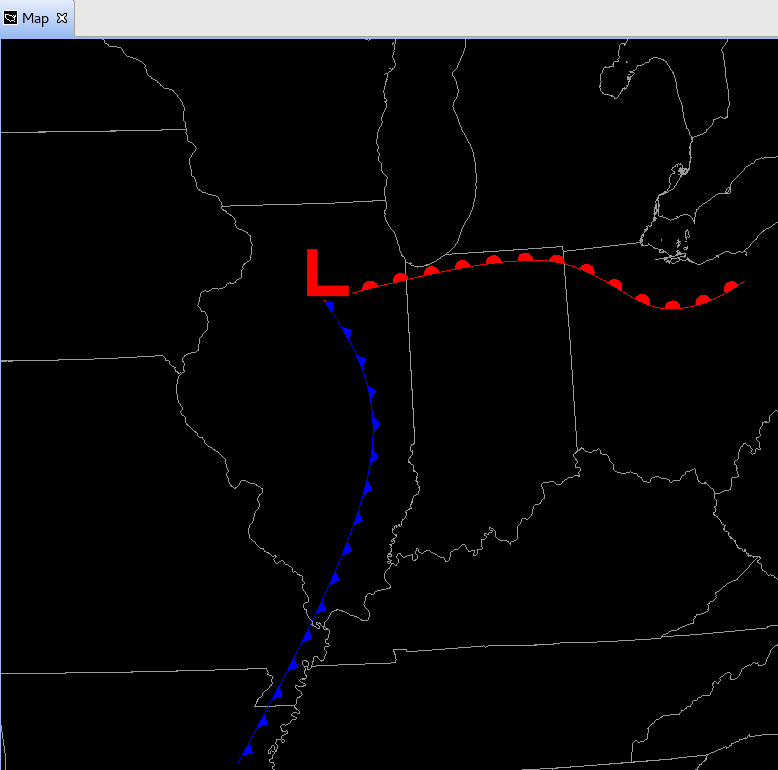
- Select a low pressure symbol (L) and place it in an appropriate spot (Fig 5).
Note: You can change the size of the features by changing the width and size in the Attributes popup window.
- Select a low pressure symbol (L) and place it in an appropriate spot (Fig 5).
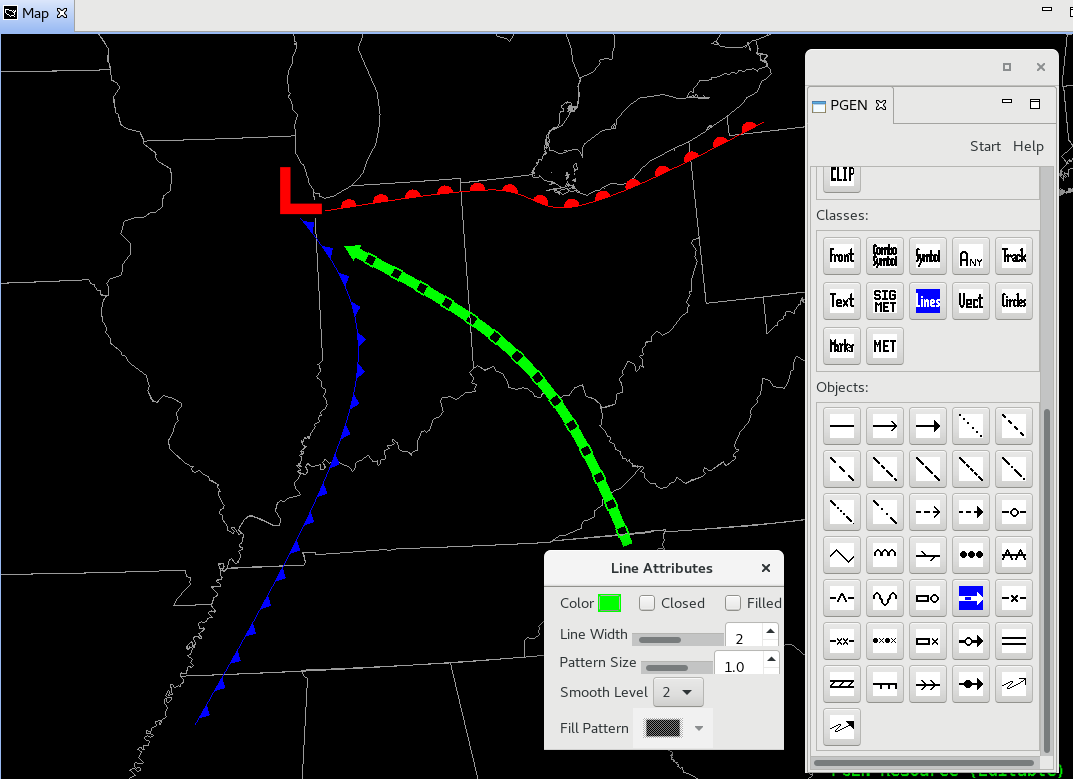
- From the Classes section of the Toolbox, select Lines.
- Select any line you wish and curve it into the low pressure system to represent a moisture axis (Fig 6).
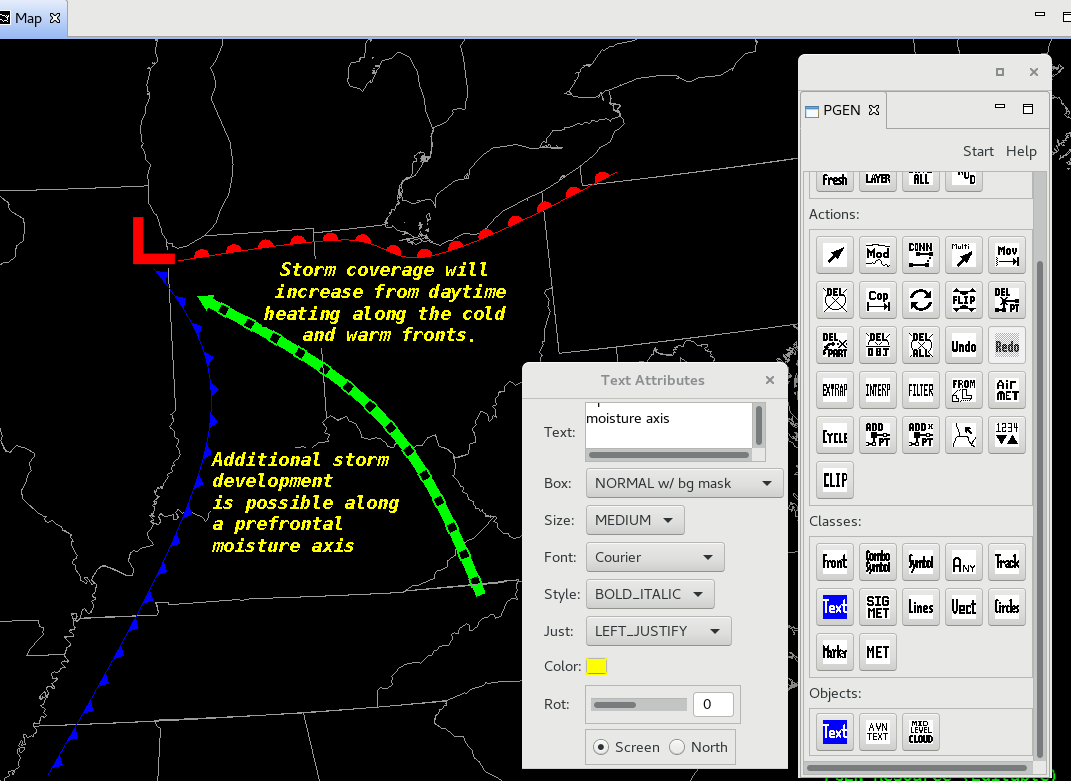
- From the Classes section of the Toolbox, select Text.
- Type in the desired text int he popup window, select the font and formatting you wish, then simply put the text into the map editor by left clicking in the desired location. You may put different blocks of text into the map editor by clearing the text from the popup window and typing new text. If the text popup window disappears, select Text from the Toolbox (Fig 7).