


Initial Login User Management - OCLO
Initial Login and User Management
Purpose:
This jobsheet, designed for SOO/DOH/ITOs at NWS field offices, explains the procedure for initial access to their default, office-specific VLab community, as well as community management actions, such as how to add additional members, and how to designate roles to each user for the purpose of submitting content to the community or allowing them to register references.Tasks:
Prerequisites:
- This jobsheet is specifically designed for SOO/DOH/ITOs in an NWS field office, or a person designated as a site owner/admin for one of those communities.
First-time community setup specifically requires LDAP login to VLab, explained in steps 1 and 2, or proper admin rights may not be recognized for the SOO/DOH/ITO.
- [ESSENTIAL FOR FIRST-TIME USE OF COMMUNITY] Go to the VLab home page at https://vlab.noaa.gov/ and make sure you are signed out.
- If you see "You are signed in as" in the SIGN IN status on the upper-right part of the page, you are currently logged in. To log out, click on the menu box icon in the left side of the top navigation bar and select "Sign Out" under the pullout menu with your name. If it asks you to log out of Google, you do not need to do so and can click cancel on any popup message.
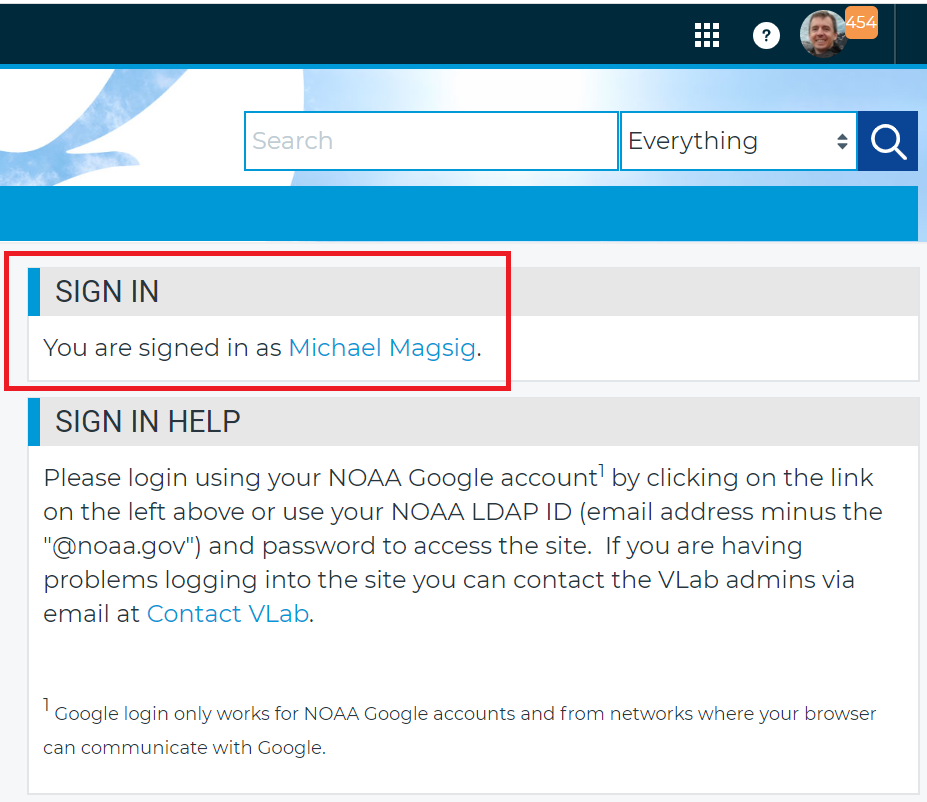

- If you see "You are signed in as" in the SIGN IN status on the upper-right part of the page, you are currently logged in. To log out, click on the menu box icon in the left side of the top navigation bar and select "Sign Out" under the pullout menu with your name. If it asks you to log out of Google, you do not need to do so and can click cancel on any popup message.
- Sign in to VLab through the method below which describes you:
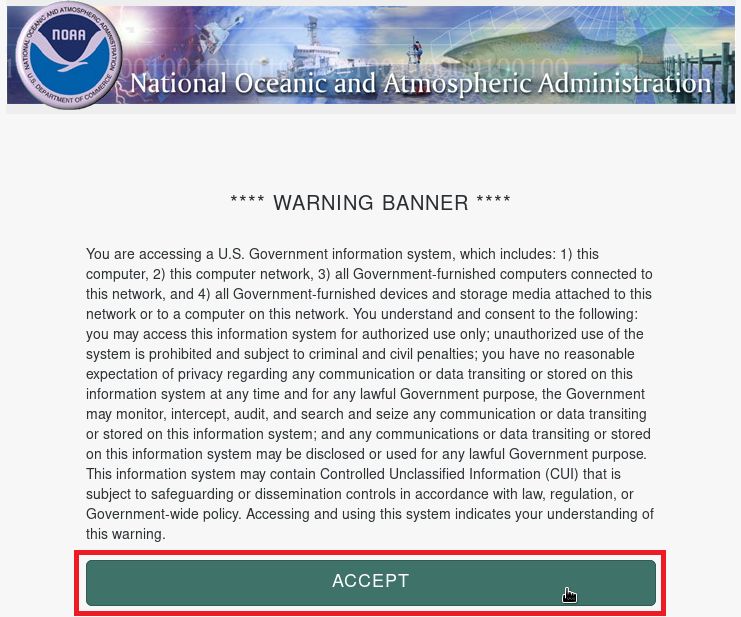
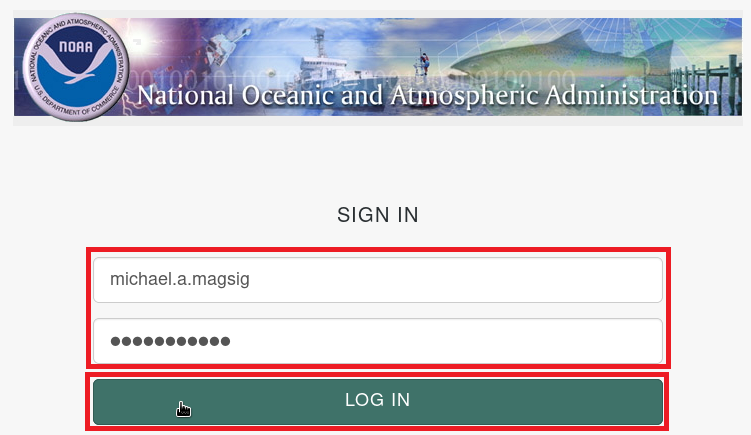
- If you are accessing your community for the first time: In the "Sign In" portlet, click on the ICAM link and hit the Accept button. Enter your LDAP username and password and click the Login button (your LDAP username is what appears before the @ in your noaa email). If you have CAC card authentication on your machine, it may prompt you to enter your CAC PIN. This one-time step, which requires the LDAP sign-in, will automatically assign you to the appropriate field office community, based on your LDAP credentials.
- DO NOT click on the "Google" button for "Single Sign-on" (SSO) the first time you log in. ONLY LDAP sign-in triggers automatic assignment.

- If you have already used LDAP to log in to your new community before: You may use either form of authentication (LDAP or SSO) to log in. Note that SSO requires you to be logged in to your Google account.
- DO NOT click on the "Google" button for "Single Sign-on" (SSO) the first time you log in. ONLY LDAP sign-in triggers automatic assignment.
- If you are accessing your community for the first time: In the "Sign In" portlet, click on the ICAM link and hit the Accept button. Enter your LDAP username and password and click the Login button (your LDAP username is what appears before the @ in your noaa email). If you have CAC card authentication on your machine, it may prompt you to enter your CAC PIN. This one-time step, which requires the LDAP sign-in, will automatically assign you to the appropriate field office community, based on your LDAP credentials.
- To verify that you have been added to a community for your local field office, click on the circular "Select Communities" icon at the top-left of the page. Then click on the listing with your office name.
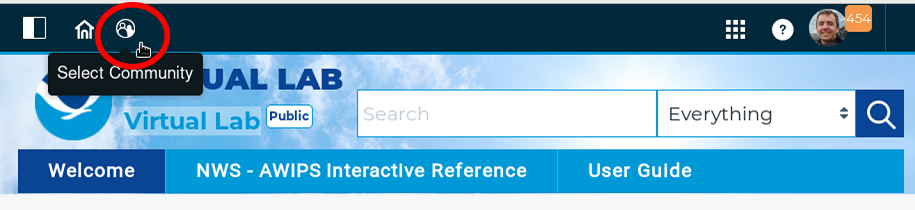
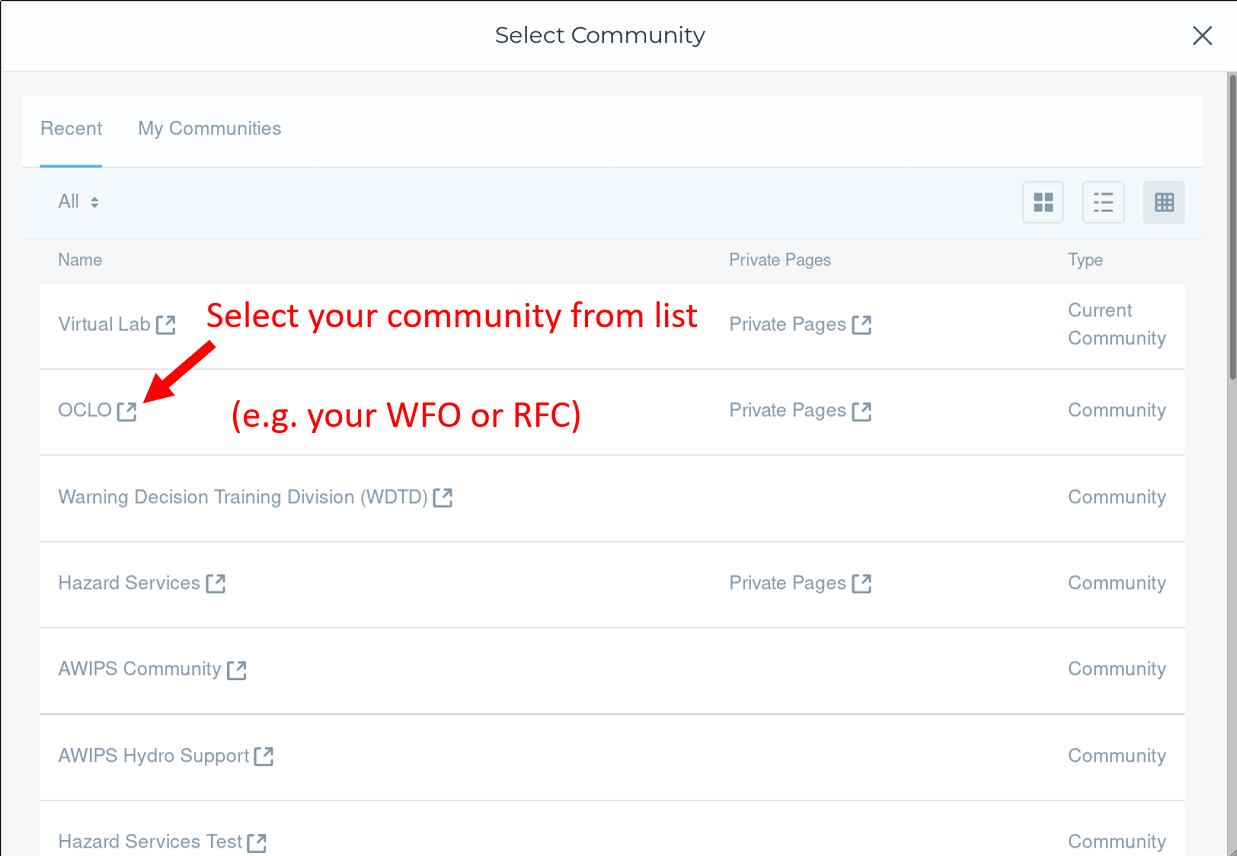
- If your community is not listed, verify that you have used LDAP at least once to log in for step 2 (NOT single sign-on), and if you did then contact the VLab admin for further help at vlab.admin@noaa.gov.
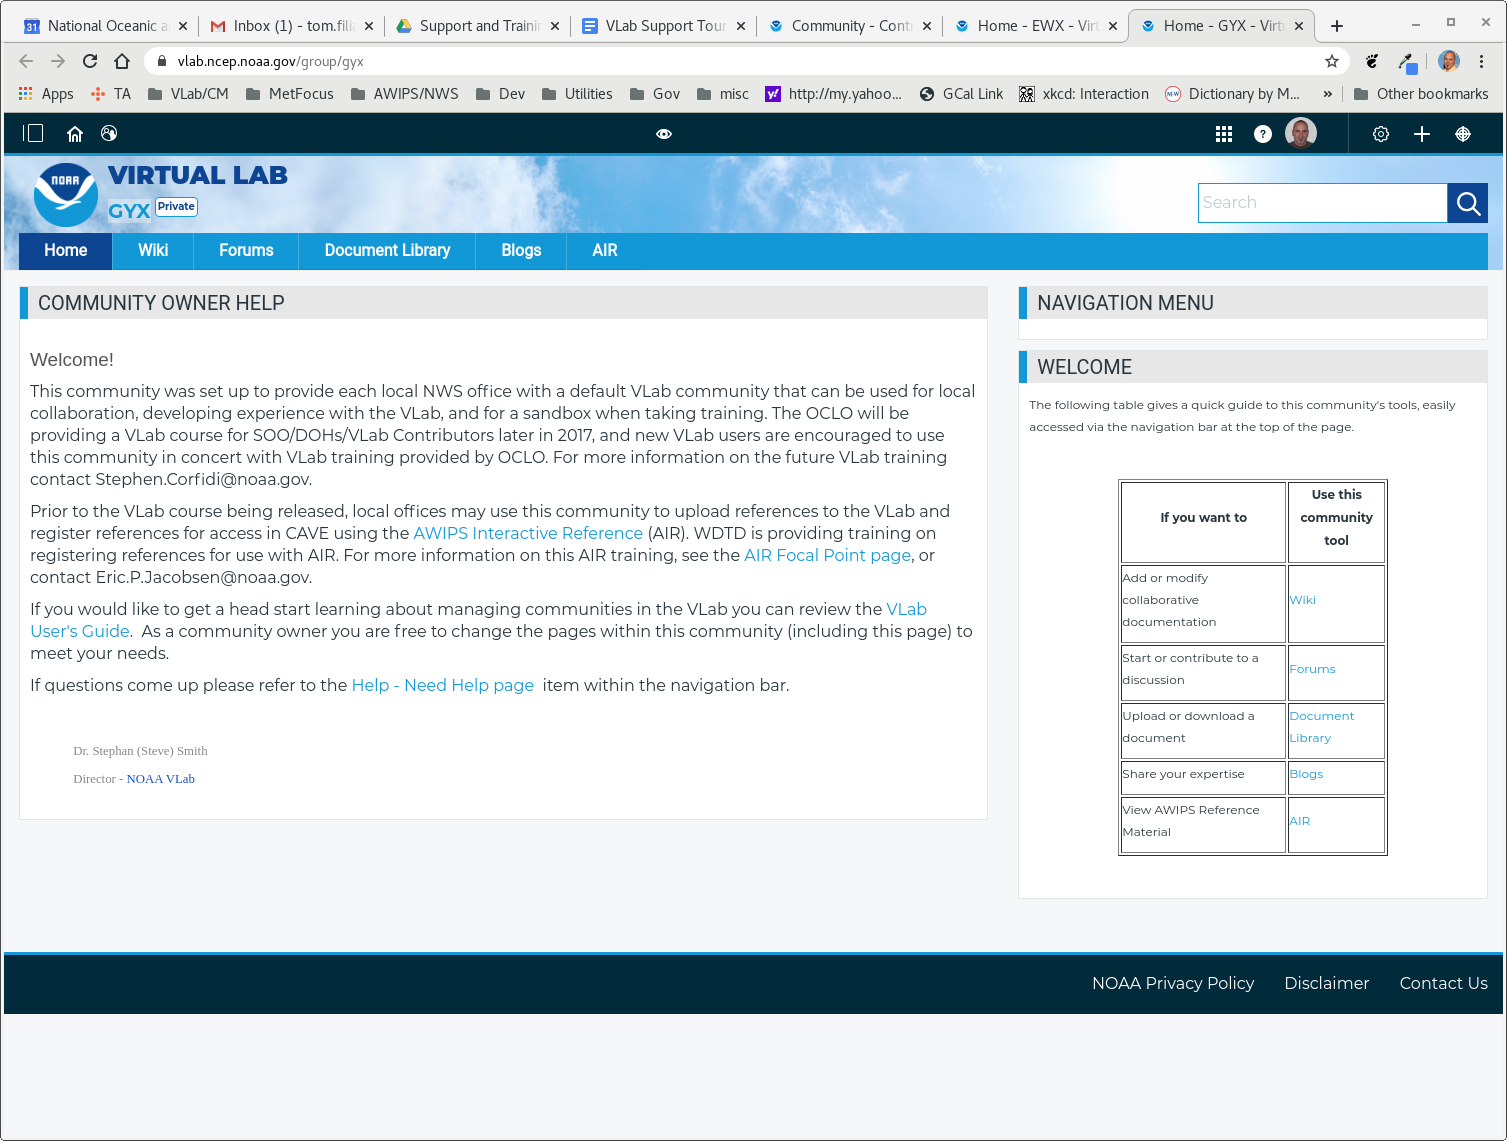
- If successful, and if your office did not previously have a VLab community, then you should see a page with a template similar to the following:
- Proceed to the next steps to manage community members/roles only if you are a SOO/DOH/ITO or community admin.
- If you are a SOO/DOH/ITO, from the "Admin" left-side menu, click on the "Members" pullout menu on the left and select "Community Memberships" menu in the left-side navigation to proceed to the user administration interface.
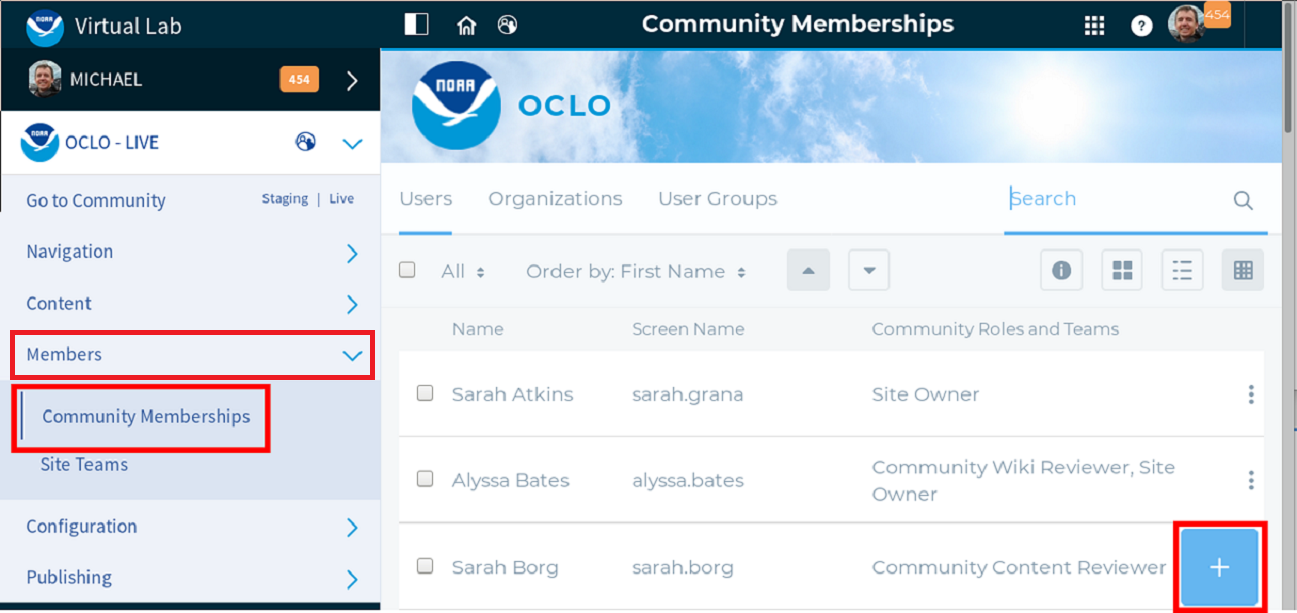
- Review the Names column for a list of users currently enrolled in your community, as well as the permissions assigned to each (in the "Community Roles and Teams" column).
- Your name should appear with "Site Administrator" and "Site Owner" roles.
- Click on the plus icon in the bottom-right of the page to add a new member, and in the upper-right search box on the popup box type in the last name of the user you want to add and hit enter. In the filtered list of names, identify the user you are looking for. Select the checkbox next to the user and click Done. Staff who do not appear must log in to VLab through the LDAP authentication process in steps 1 and 2 of this jobsheet to be assigned to your community.
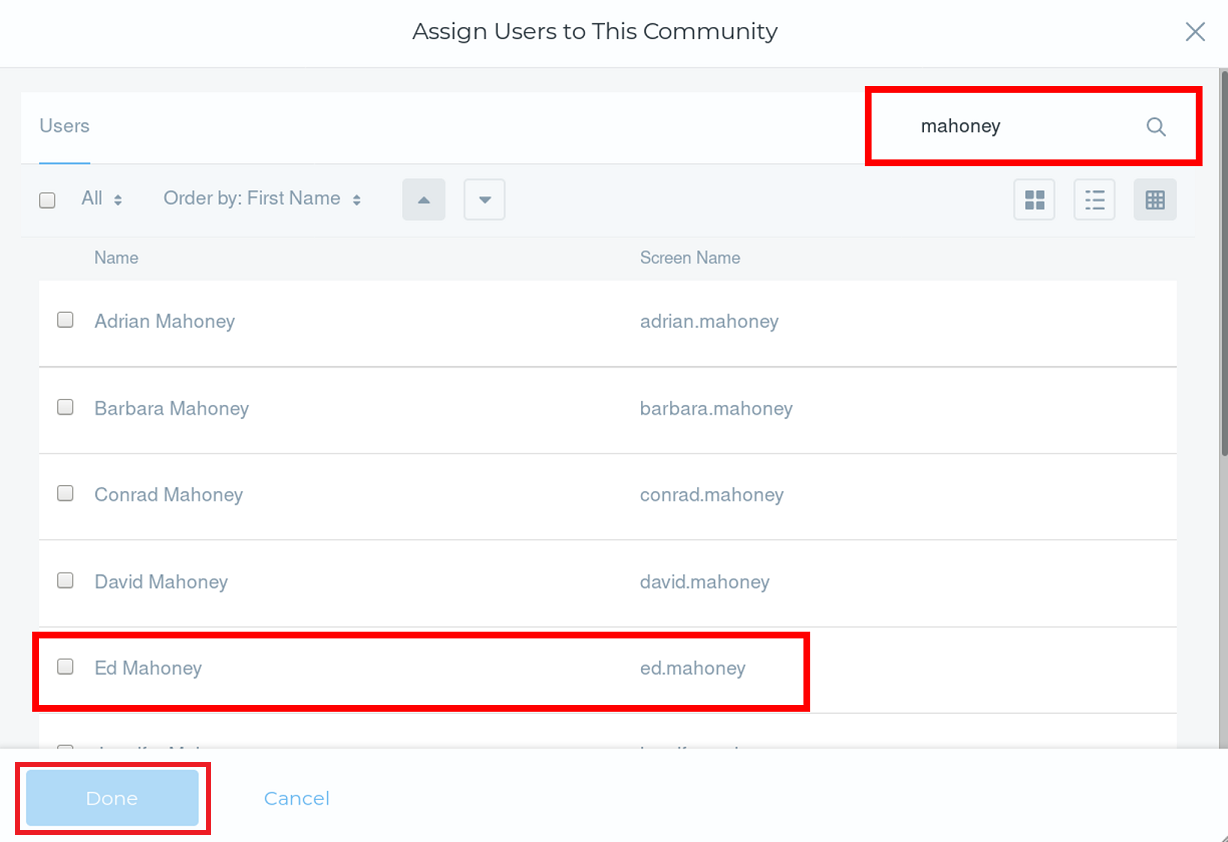
- You will see a temporary green message pop up when it completes successfully.

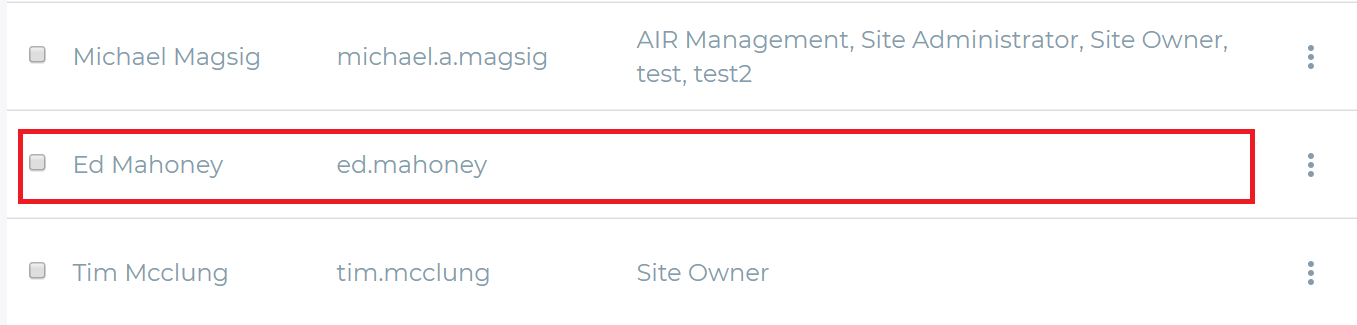
- Back on the "Community Memberships" admin interface, find the new user and note what appears for them under the "Community Roles and Teams" column
- New community members (unless SOO/DOH/ITO) should have nothing in this field, because they receive a default "Site Member" status, which allows viewing of all community content but includes no site roles to start with (such as permissions for creating content in the community).
- New community members (unless SOO/DOH/ITO) should have nothing in this field, because they receive a default "Site Member" status, which allows viewing of all community content but includes no site roles to start with (such as permissions for creating content in the community).
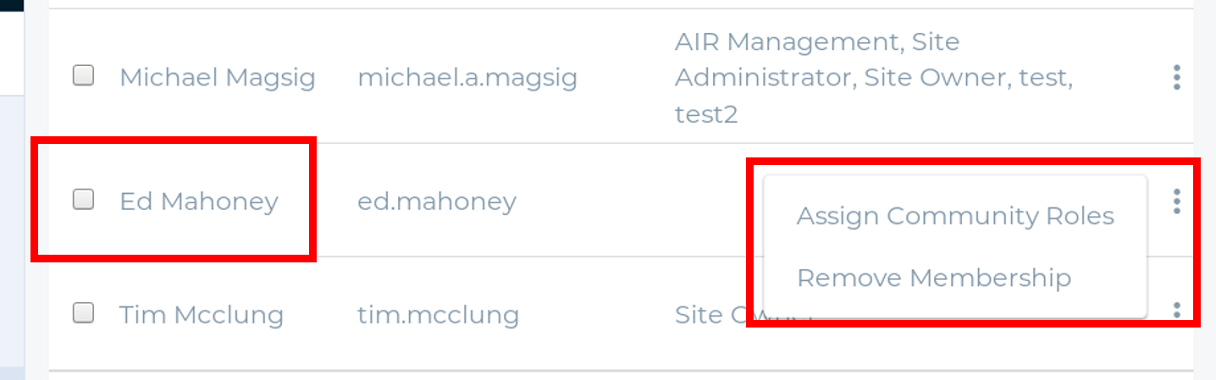
- To update the roles for a user, click on the three-dot ellipsis menu on the right side of the page, and select "Assign Community Roles".
- Common roles you should consider using are "Site Content Reviewer" for someone to contribute content, "Site Owner" for those super users who will manage the site like the SOO/DOH/ITO, and "Site Administrator" for super users who do not need permission to set the Site Administrator role.
- In the "Edit Community Roles" GUI for the selected user, check(/uncheck) the desired boxes to assign(/remove) roles for the user and then click Done.

- Verify that any new roles appear under the "Site Roles and Teams" column for the updated user.

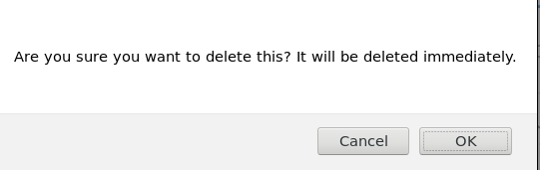
- To remove a member from your community, select the three-dot ellipsis to the right of the person's name and select "Remove Membership". Click "OK" in the popup message. Then when the task is complete, you will see a temporary success message in green.

- Jobsheet complete!