


DPTjs2 - OCLO
Damage Path Tool Jobsheet 2
Jobsheet #2: Creating Other Damage Paths
- Load a product that can help identify the area you wish to highlight (e.g. Storm Total Precip, for a flooding event).
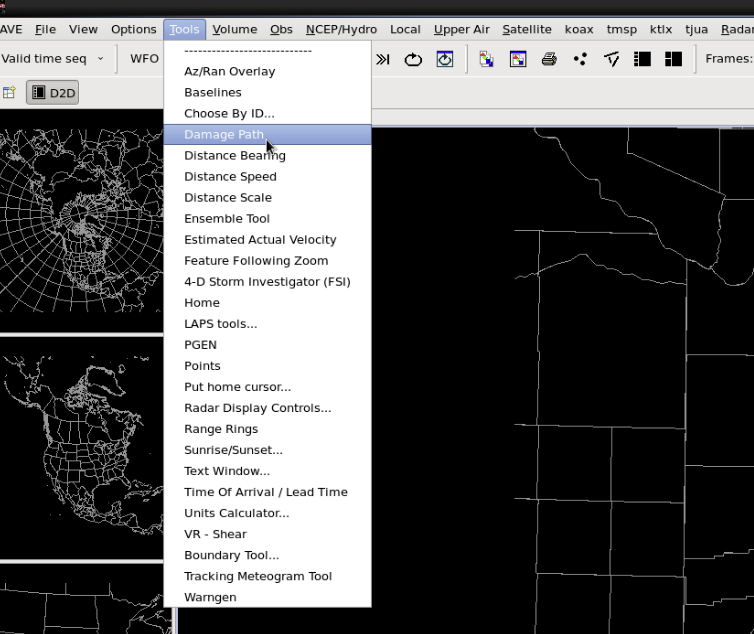
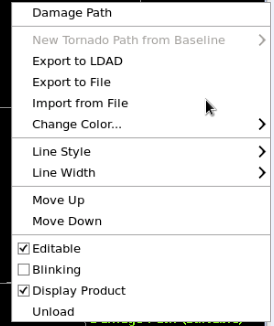
- Select Damage Path from the CAVE Tools menu (Fig. 1).
- Modify the polygon to match the area you wish to highlight.
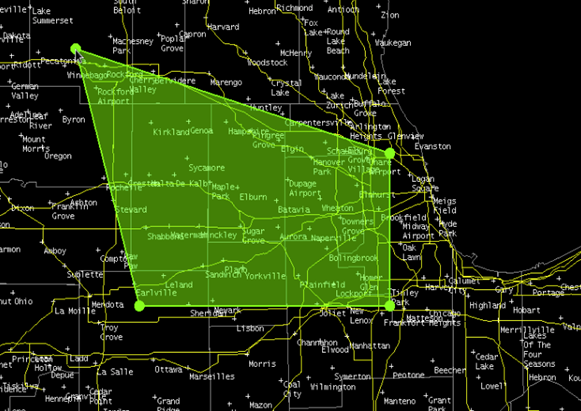
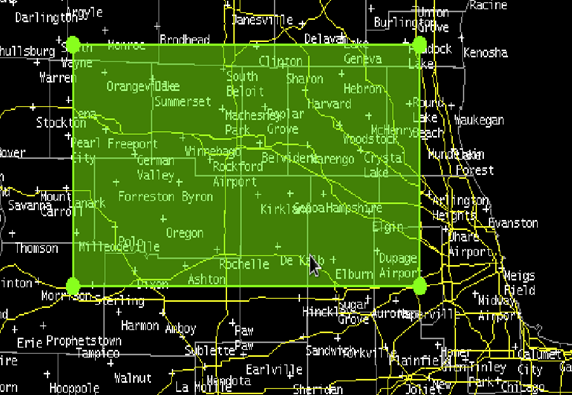
- Left click and hold on vertices to drag them, (Fig. 2) left click and hold over the polygon itself to move the entire polygon (Fig. 3).
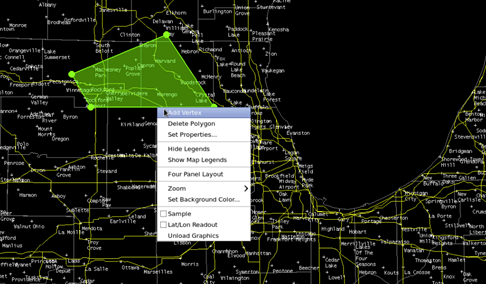
- Right click and hold, or middle click to add a vertex (Fig. 4).
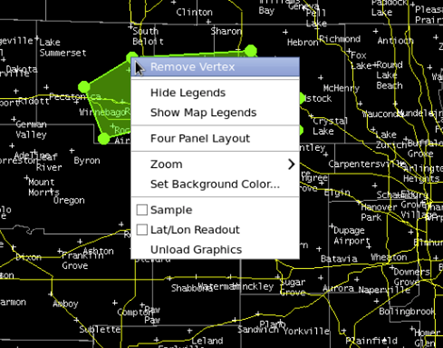
- Right click and hold on any vertex to remove a vertex (Fig. 5).
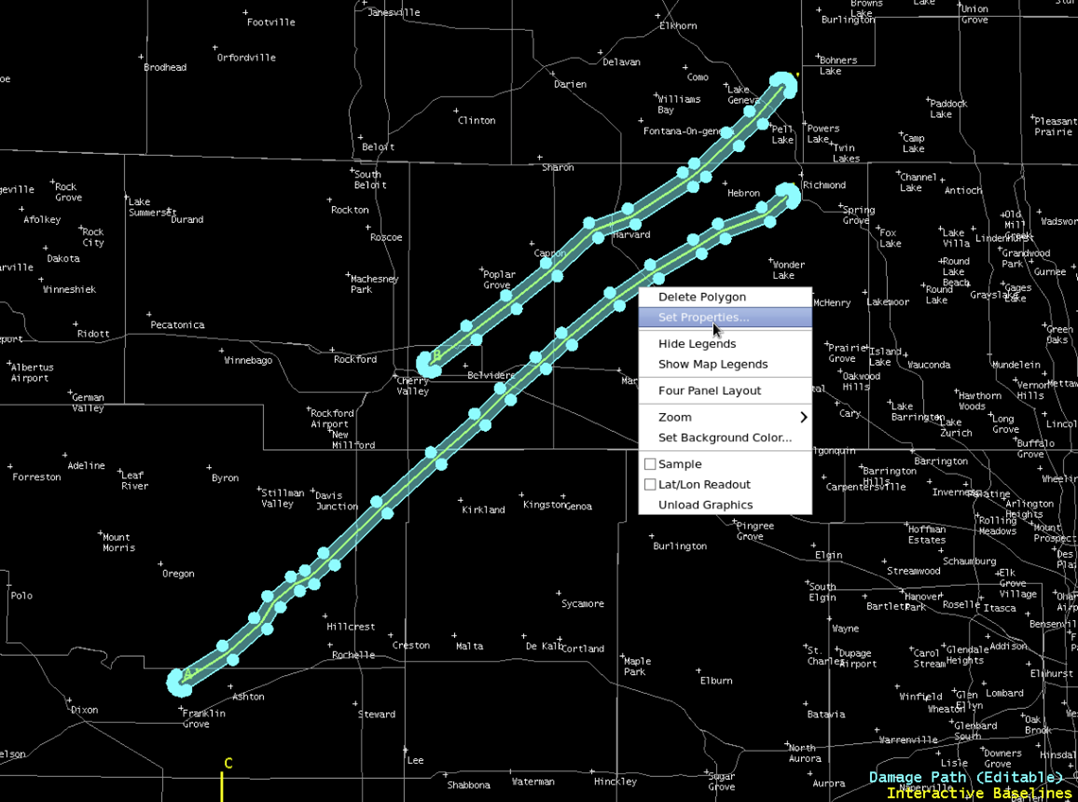
- Right click anywhere on your damage path polygon and select Set Properties (Fig. 6).
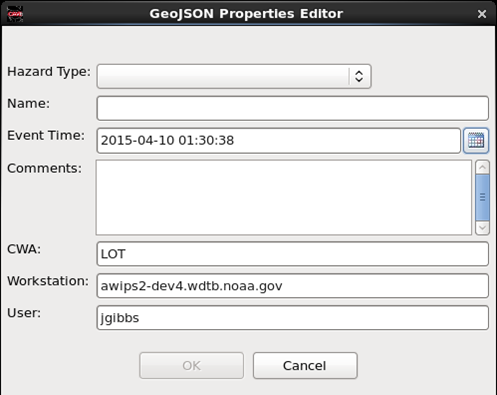
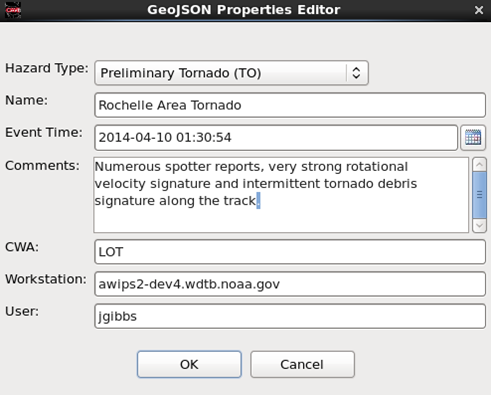
- This will pull up the polygon's properties editor GUI (Fig. 7).
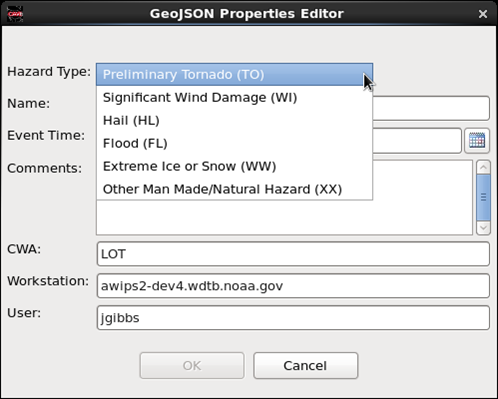
- Select the appropriate hazard from the Hazard Type dropdown menu (Fig. 8).
- Give the event a name, set the event time to the start of the tornado and provide brief comments. The CWA, Workstation and user entries cannot be edited (Fig. 9).
- Export the finished product to the DAT Server by right clicking on the product menu and selecting Export to LDAD (Fig. 10).