Purpose:
This task covers loading single radar products and mosaics from the Radar and MRMS menus.
Tasks:
- Load a product from a Dedicated RPG.
- From one of your dedicated radar menus (e.g., klzk), select a product of your choice (e.g. 0.5 Z+SRM).
- If you select an option with an arrow to the right, mousing over the option will display a submenu with more products from which you can select.
- If a product does not have a time/date stamp to its right, then there are typically no files in the AWIPS database for that product. If no products exist, then you will typically receive a popup warning message in the AWIPS alert software, AlertViz.
- Load a product from a Dial-Up (or Non-Dedicated) RPG.
- From the Radar menu, select Dial Radars, then select the submenu for either "Local" or "All" dial radars, next select a radar name group, then choose a radar, and finally select a product of your choice (e.g. 0.5 Z+V).
- Clear your display using the Clear button in the top of CAVE.
- Load a radar mosaic from the Radar menu.
- From the Radar menu, select 0.5 Reflectivity. Note there is a Regional and National Mosaics menu to help limit the number of radars being displayed because this is a pretty intensive data request. If you look carefully around known radar locations you may be able to identify many of the radar locations being used to generate the mosaic from the weak-reflectivity returns close to the radars.

- Clear your display using the Clear button in the top of CAVE.
- Under the MRMS menu, find some existing products that have times listed next to them and load them. Note that CONUS sites and OCONUS sites have their own sections and that CONUS sites will have more MRMS severe products, while OCONUS sites will have mostly just Precipitation and FLASH Products.
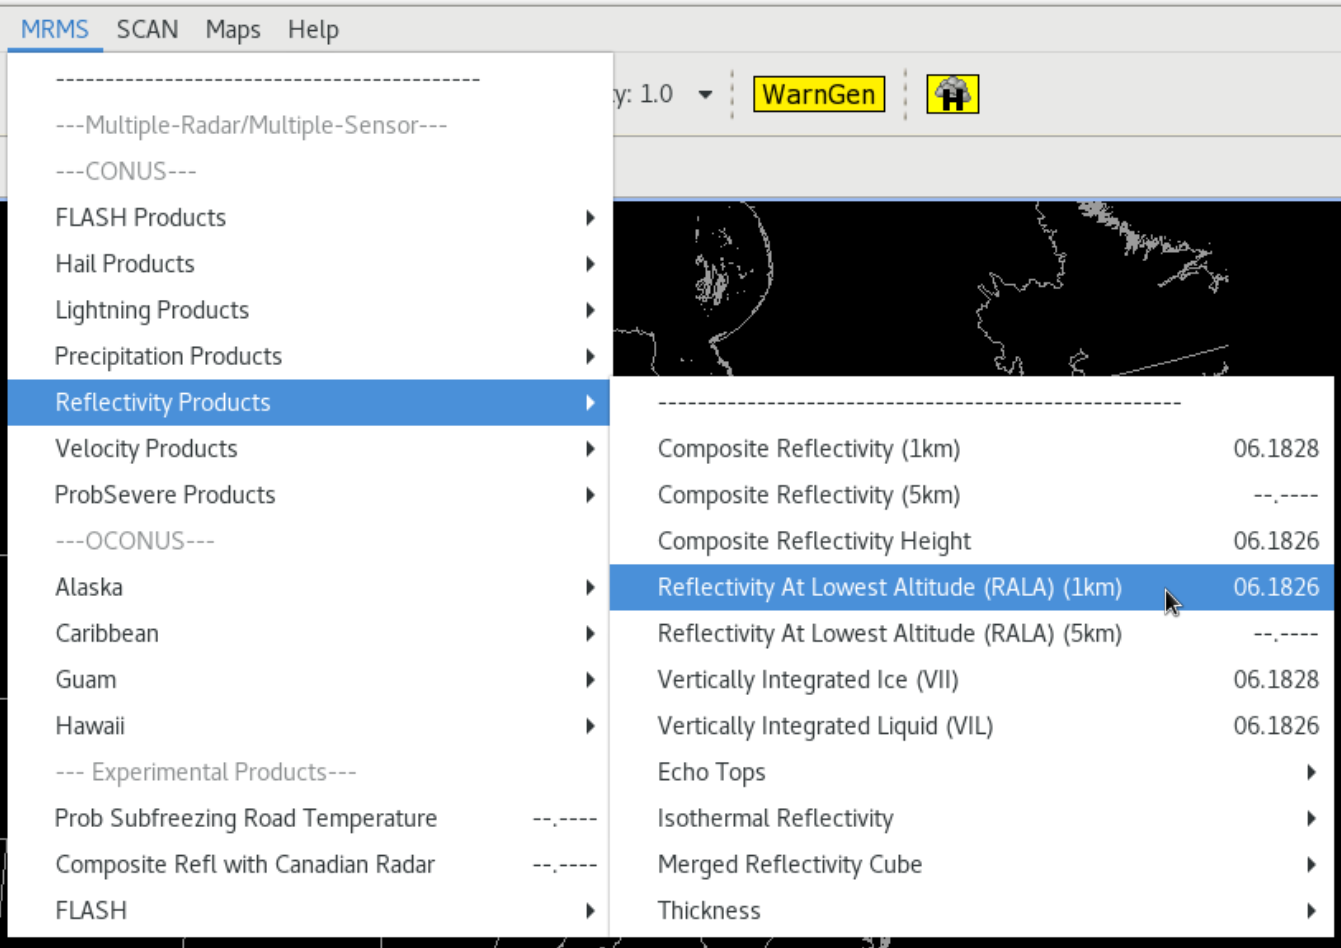
- For a CONUS site, under the MRMS->Reflectivity Products menu load Reflectivity At Lowest Altitude (RALA) (1km).
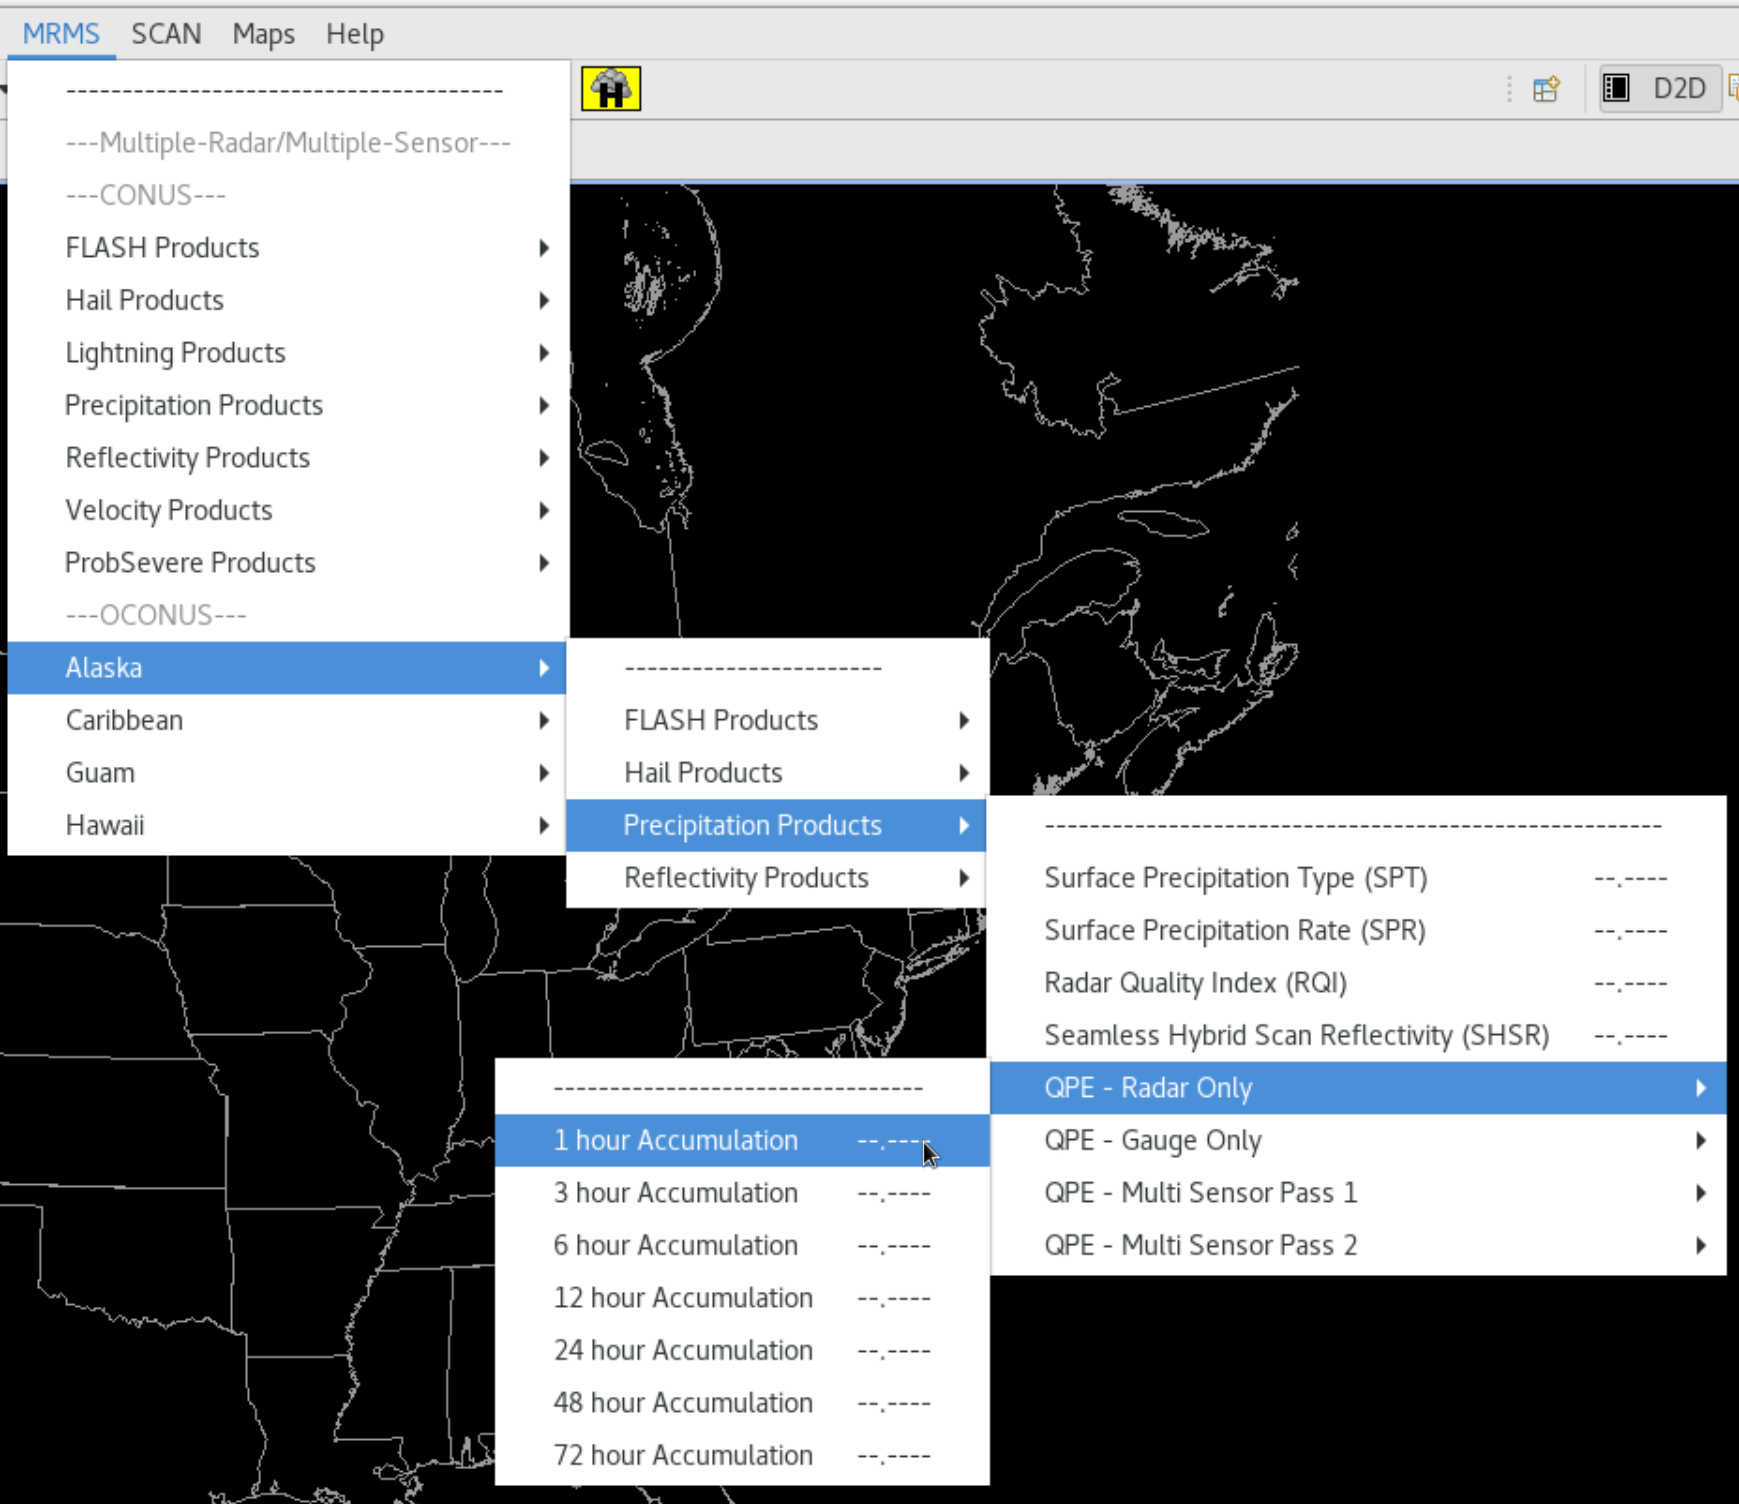
- For an OCONUS site, under the MRMS menu, locate your region (e.g. Alaska), and navigate to the Precipitation Products->QPE - Radar Only menu and load 1 hour Accumulation.
- Task Complete!


